Now that you’ve got your hands on some dried sourdough starter, it’s time to reactivate it and start to bake artisan sourdough bread in just a couple of days.
Baking with sourdough is quite amazing, but also a bit time-consuming. And, while it might be convenient to keep your starter in the fridge and feed every 2 weeks, for some, drying out their starter is an excellent hassle-free solution (not to mention, it’s always a good idea to have a bit of dry sourdough starter on hand in case anything happens to your main mama). (Coming soon: Guide to drying out sourdough starter).
So, whether you are ready to get back into baking after a brief hiatus, or you’ve just bought/been gifted some dried starter, I’ll show you how to get your dried sourdough starter reactivated in no time. There are many options out there claiming it should take between 4-14 days, but in my experience, you really only need 24-48 hours to reactivate your dried sourdough starter to bake with it, especially if it is newer, having been dried within the last 6 months.
Tools You Will Need
These tools are pretty standard for baking with sourdough, so if you don’t have them, it’s not a big deal, but I would suggest you invest in a kitchen scale at least to get the best and most consistent results.
-Digital kitchen scale
-Straight-sided container (cup, jar, measuring glass, etc.)
Ingredients You Will Need
To reactivate your dried sourdough starter, all you need are these three ingredients:
- Crumbled dried starter: (10 grams)
- Bread flour: (50 grams) If you’re not sure where to find it, check out my blog on how to locate bread flour wherever you are. Any bread flour with a protein content of between 10-13g will work just fine here.
- Water: (60 grams) There always seems to be a debate about what water should be used to bake sourdough. But, from my experience, just use water that you would have no problem drinking, whether it be from the faucet/tap, filtered, or bottled.
Steps to Revive a Dried Sourdough Starter
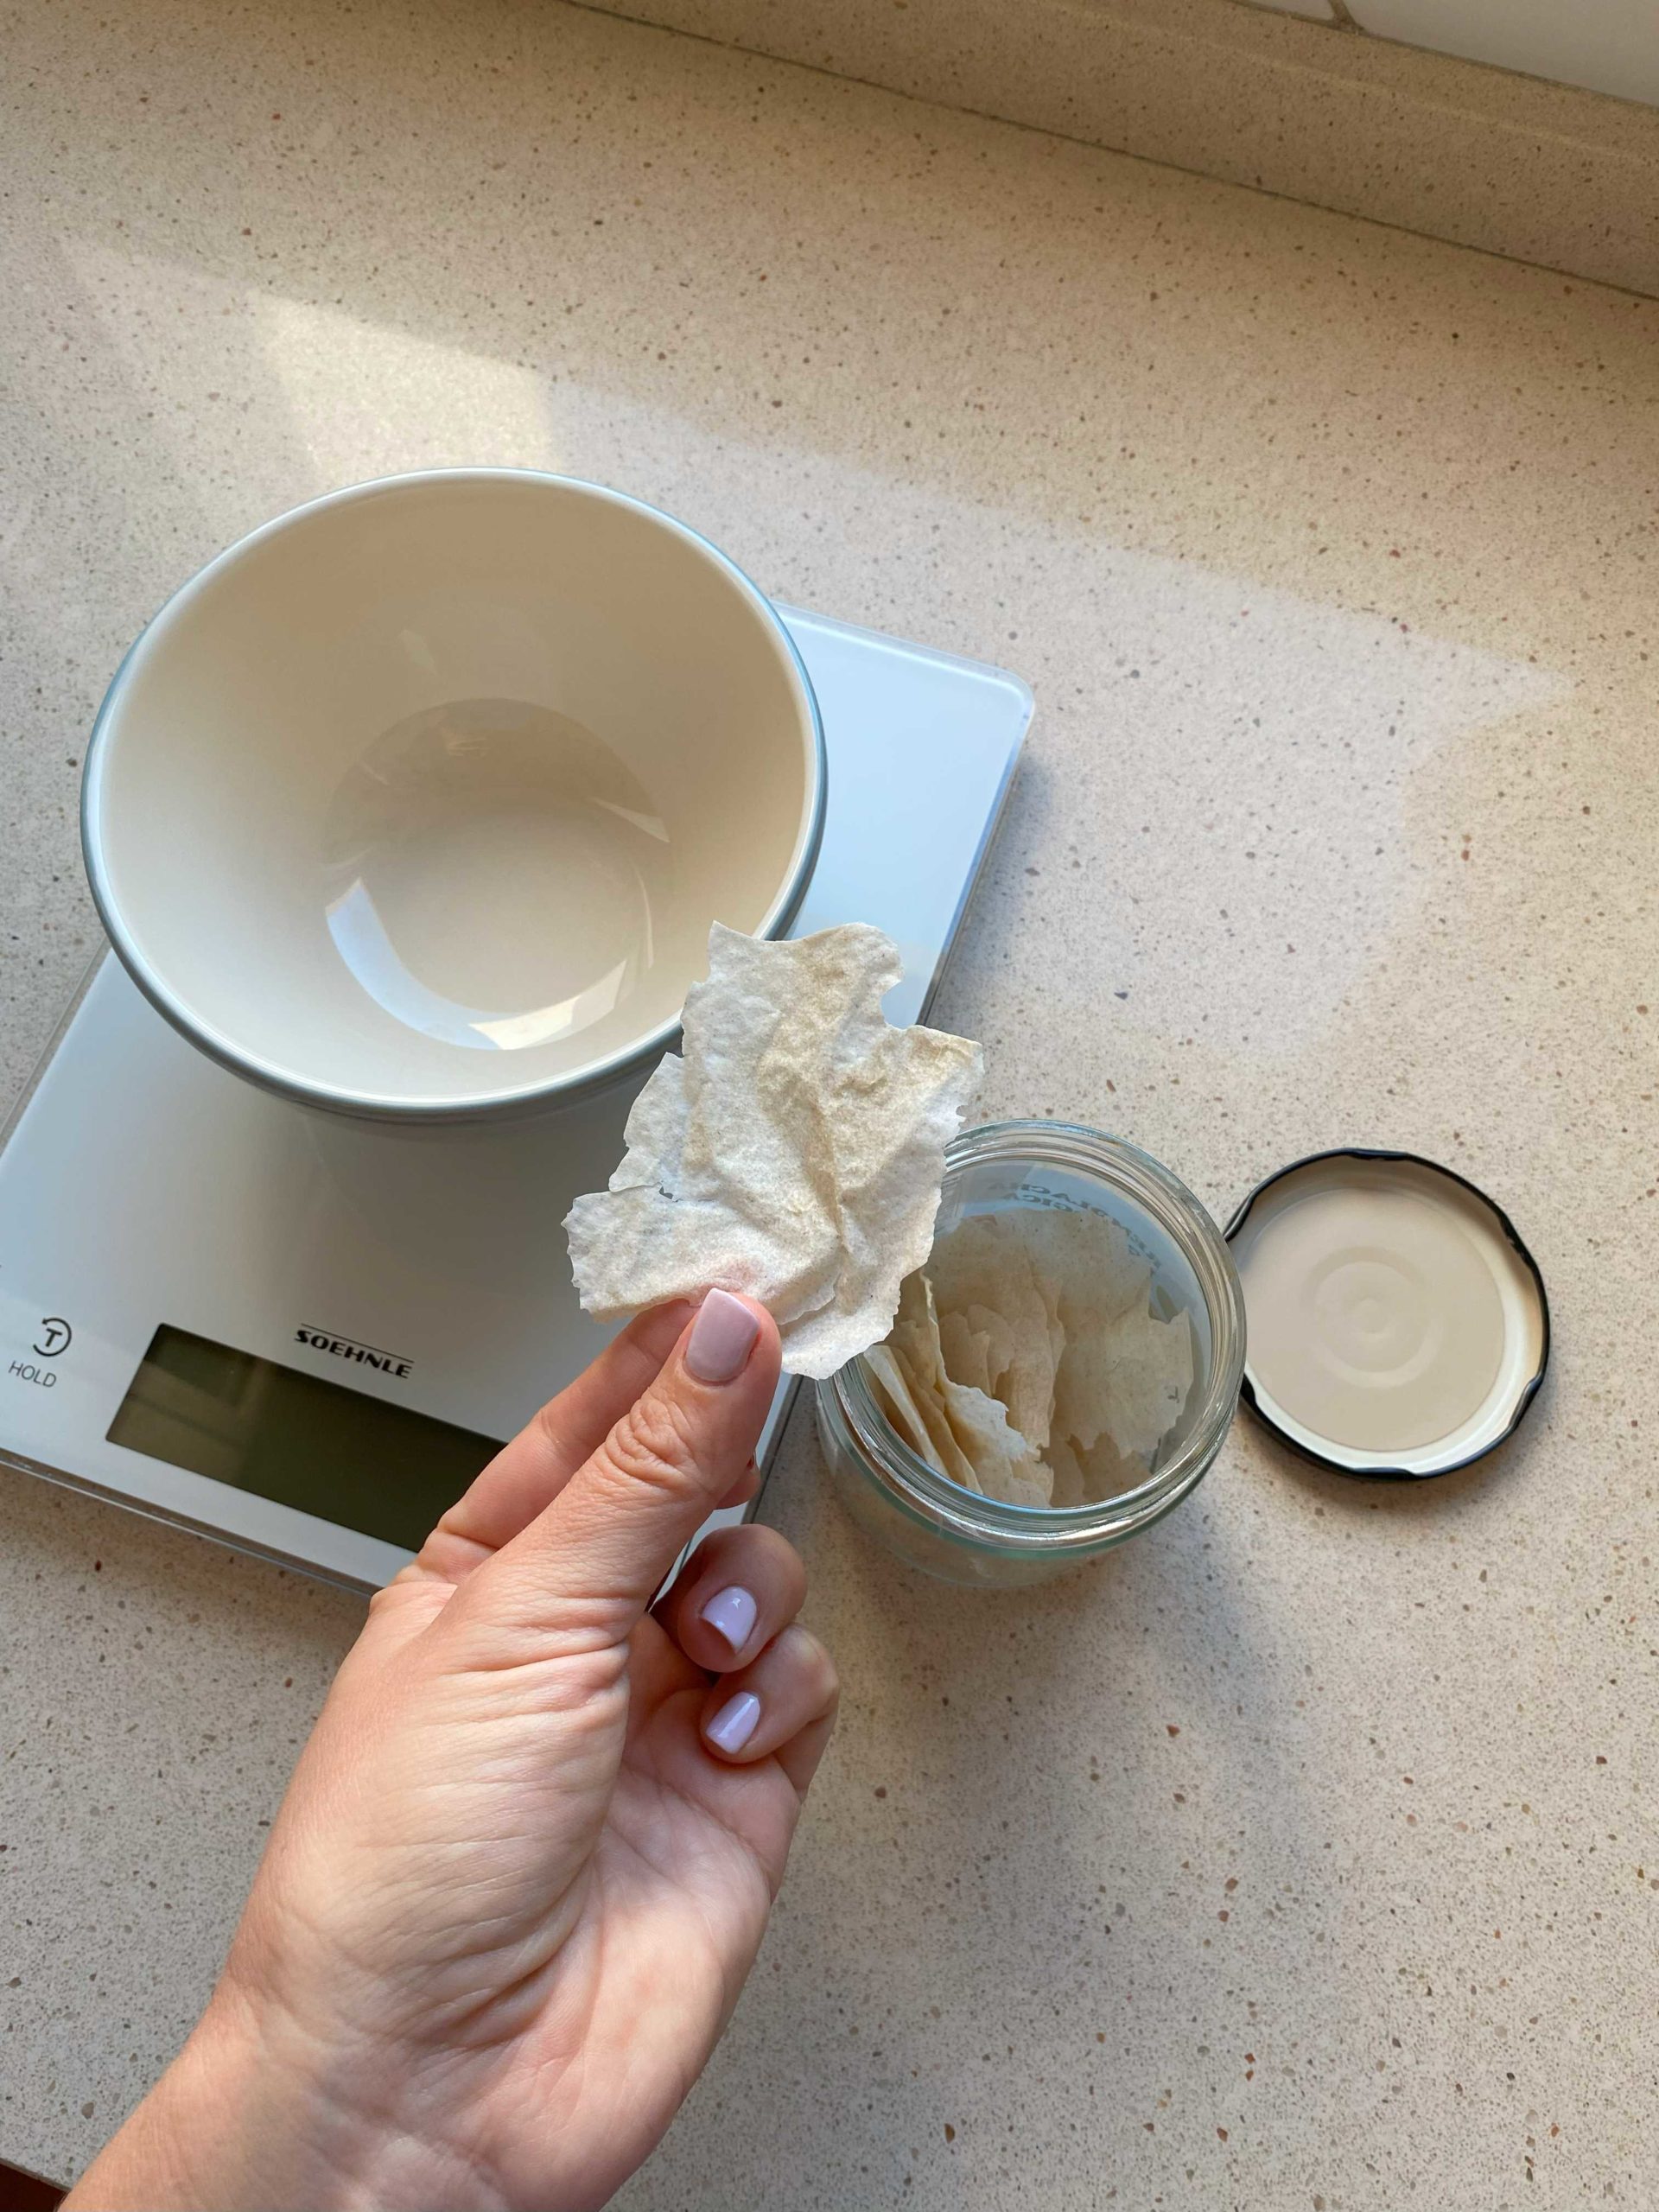
Step 1: Crumble up 10g of the dried sourdough starter and place it in a bowl or a straight-sided container. You want to have enough room inside the bowl/jar/container for the starter to double or even triple its size. (I use a small measuring glass because it conveniently has measurements on the size, and glass is much easier to clean than plastic)
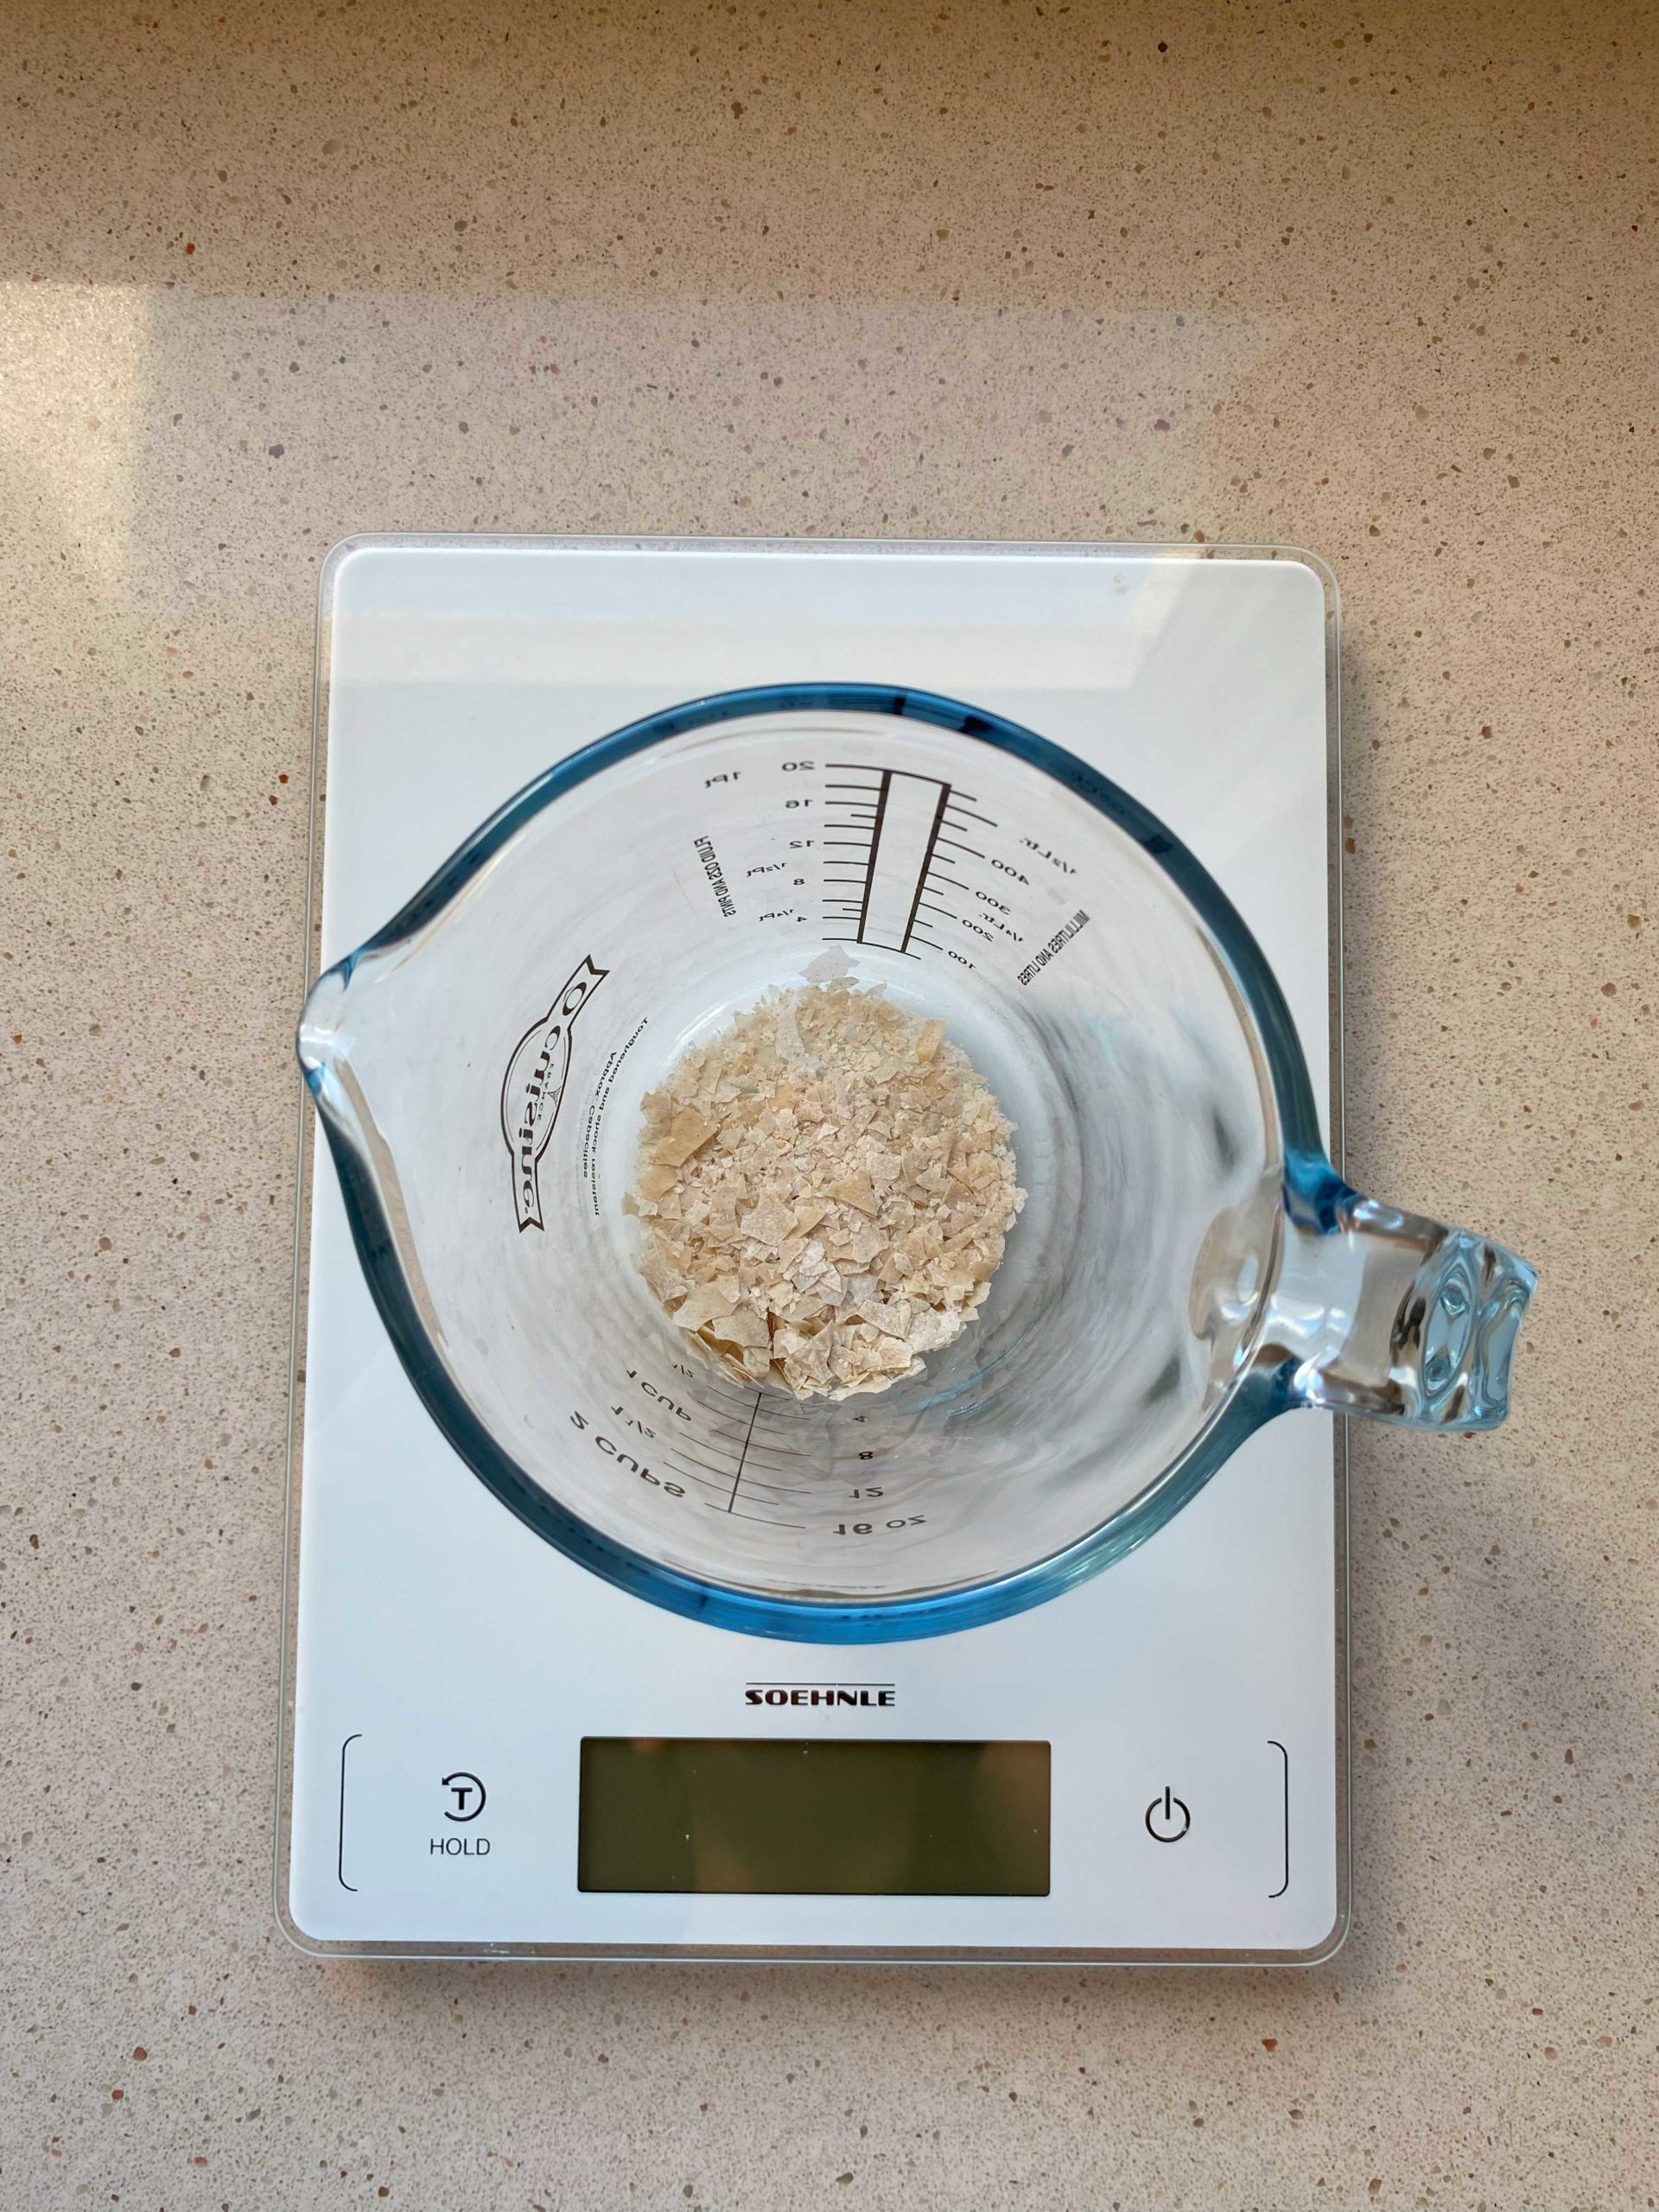
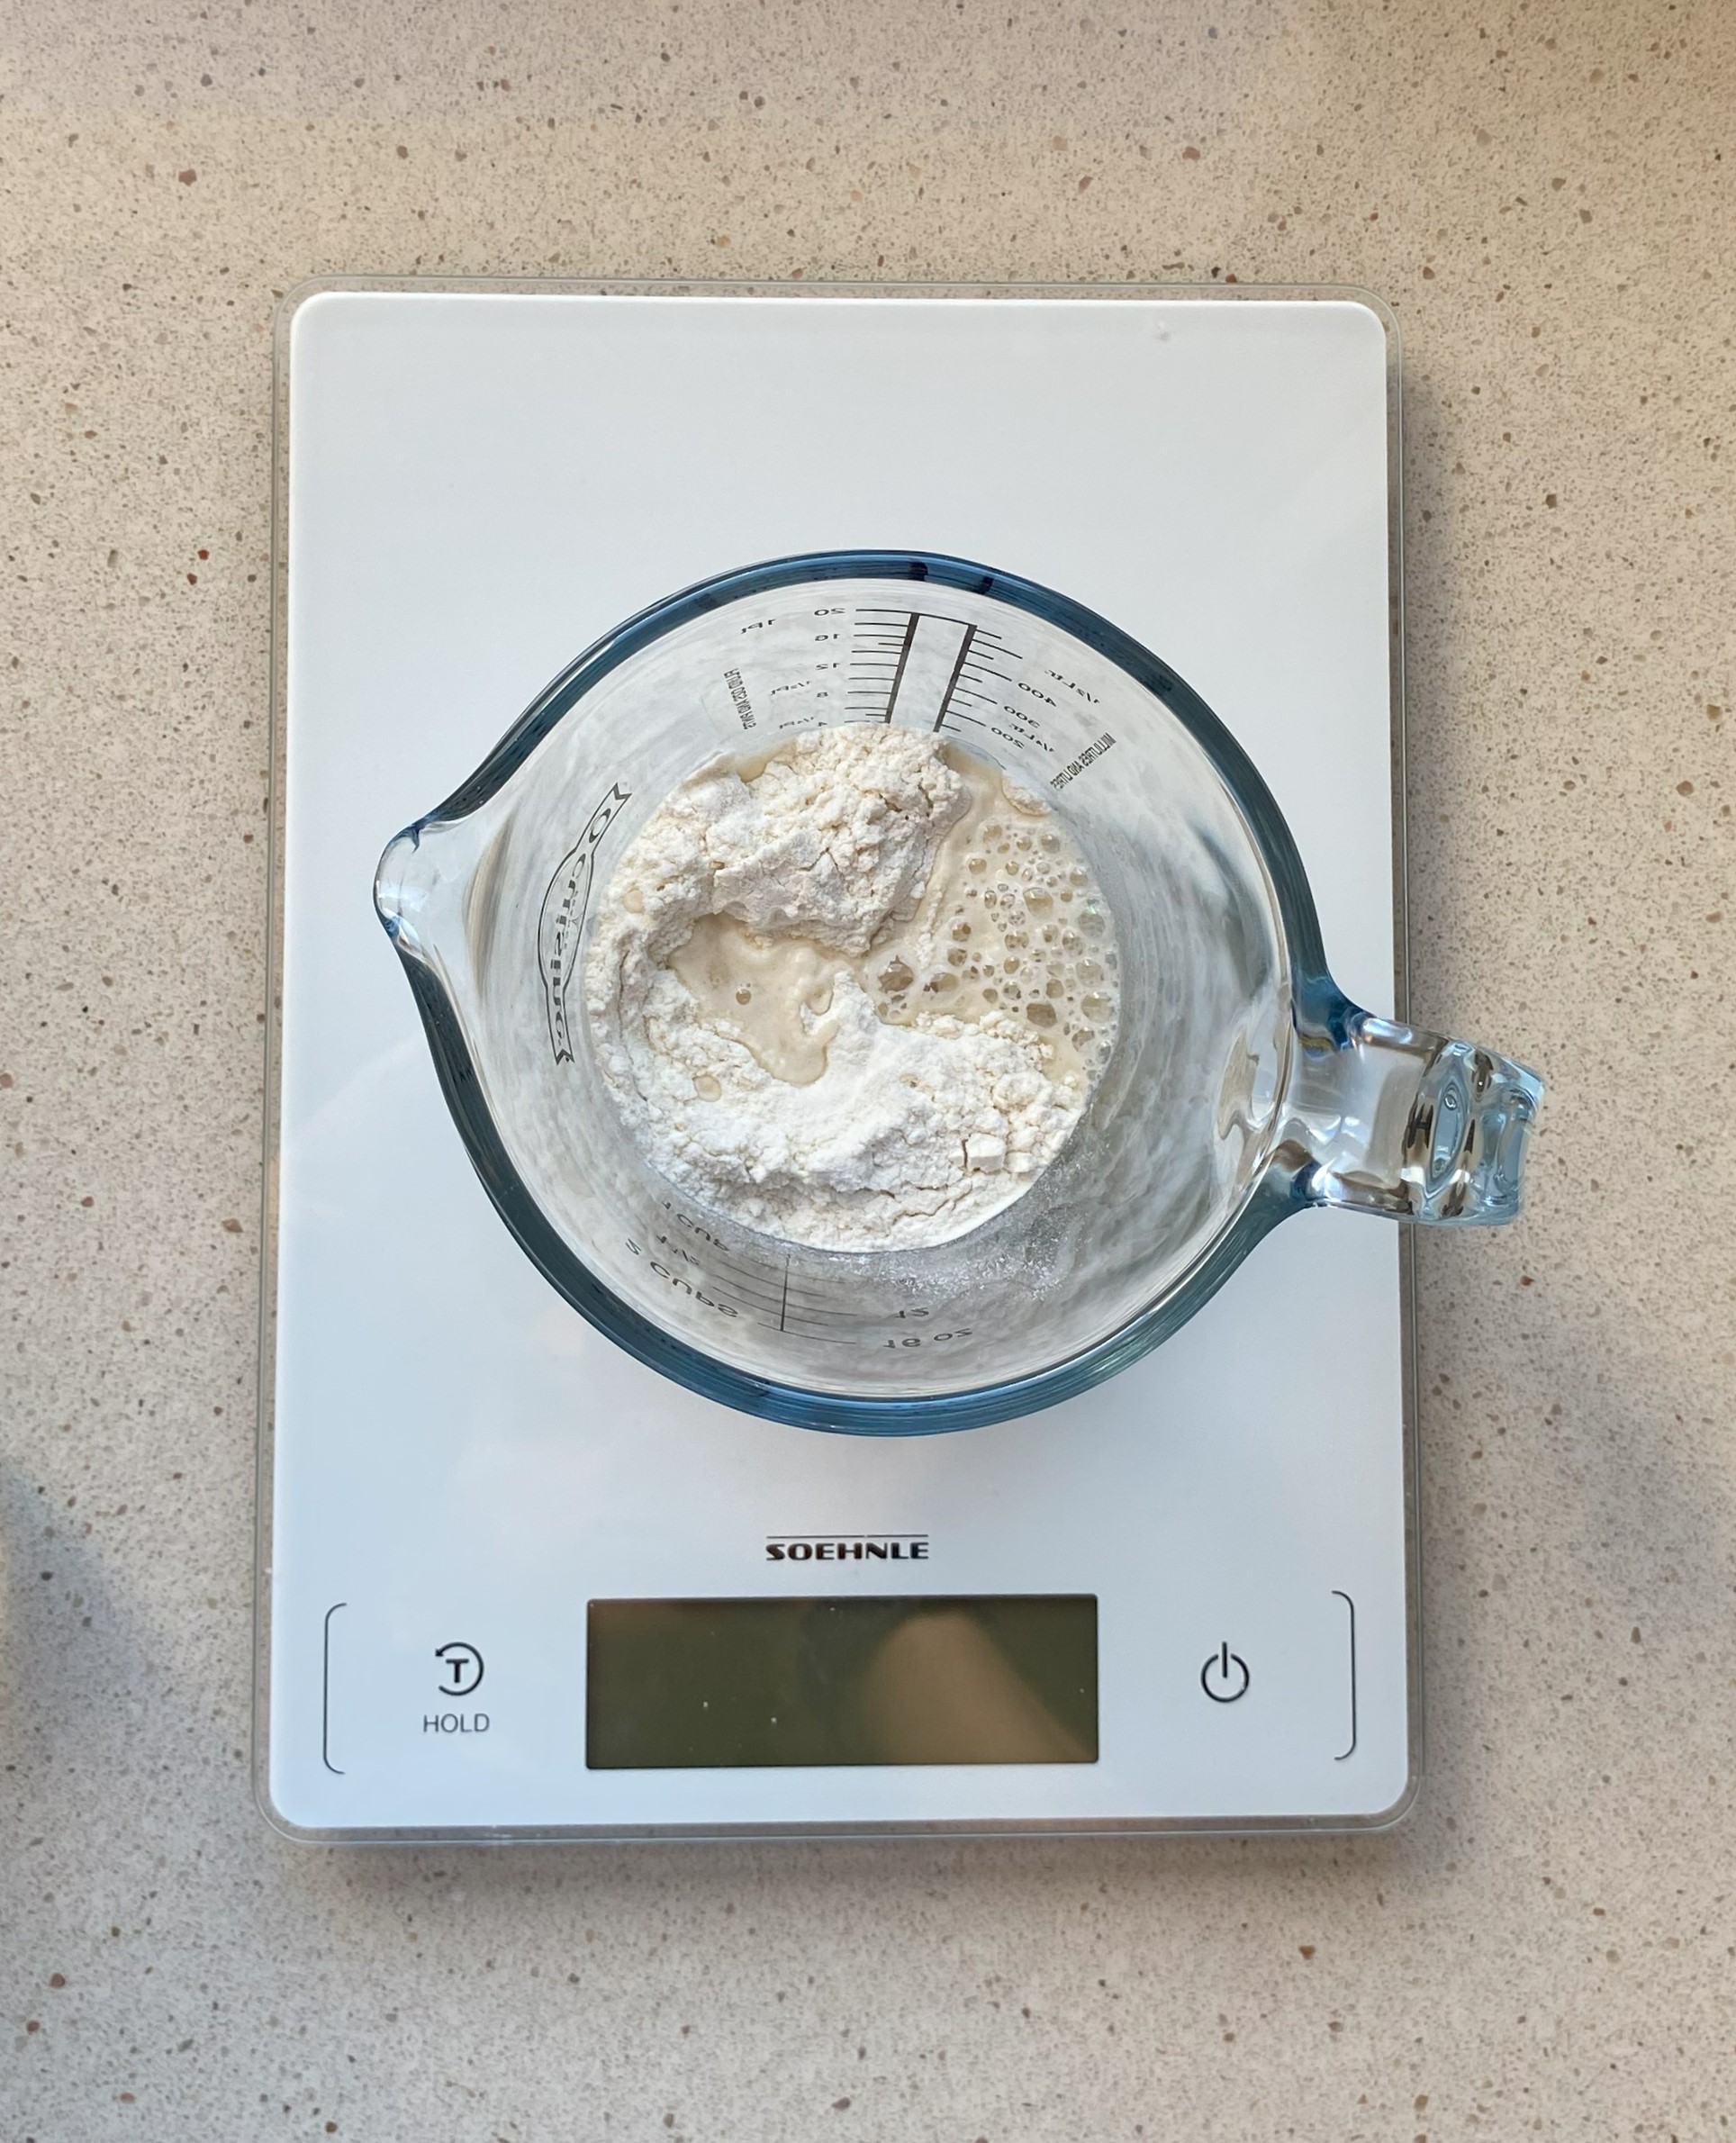
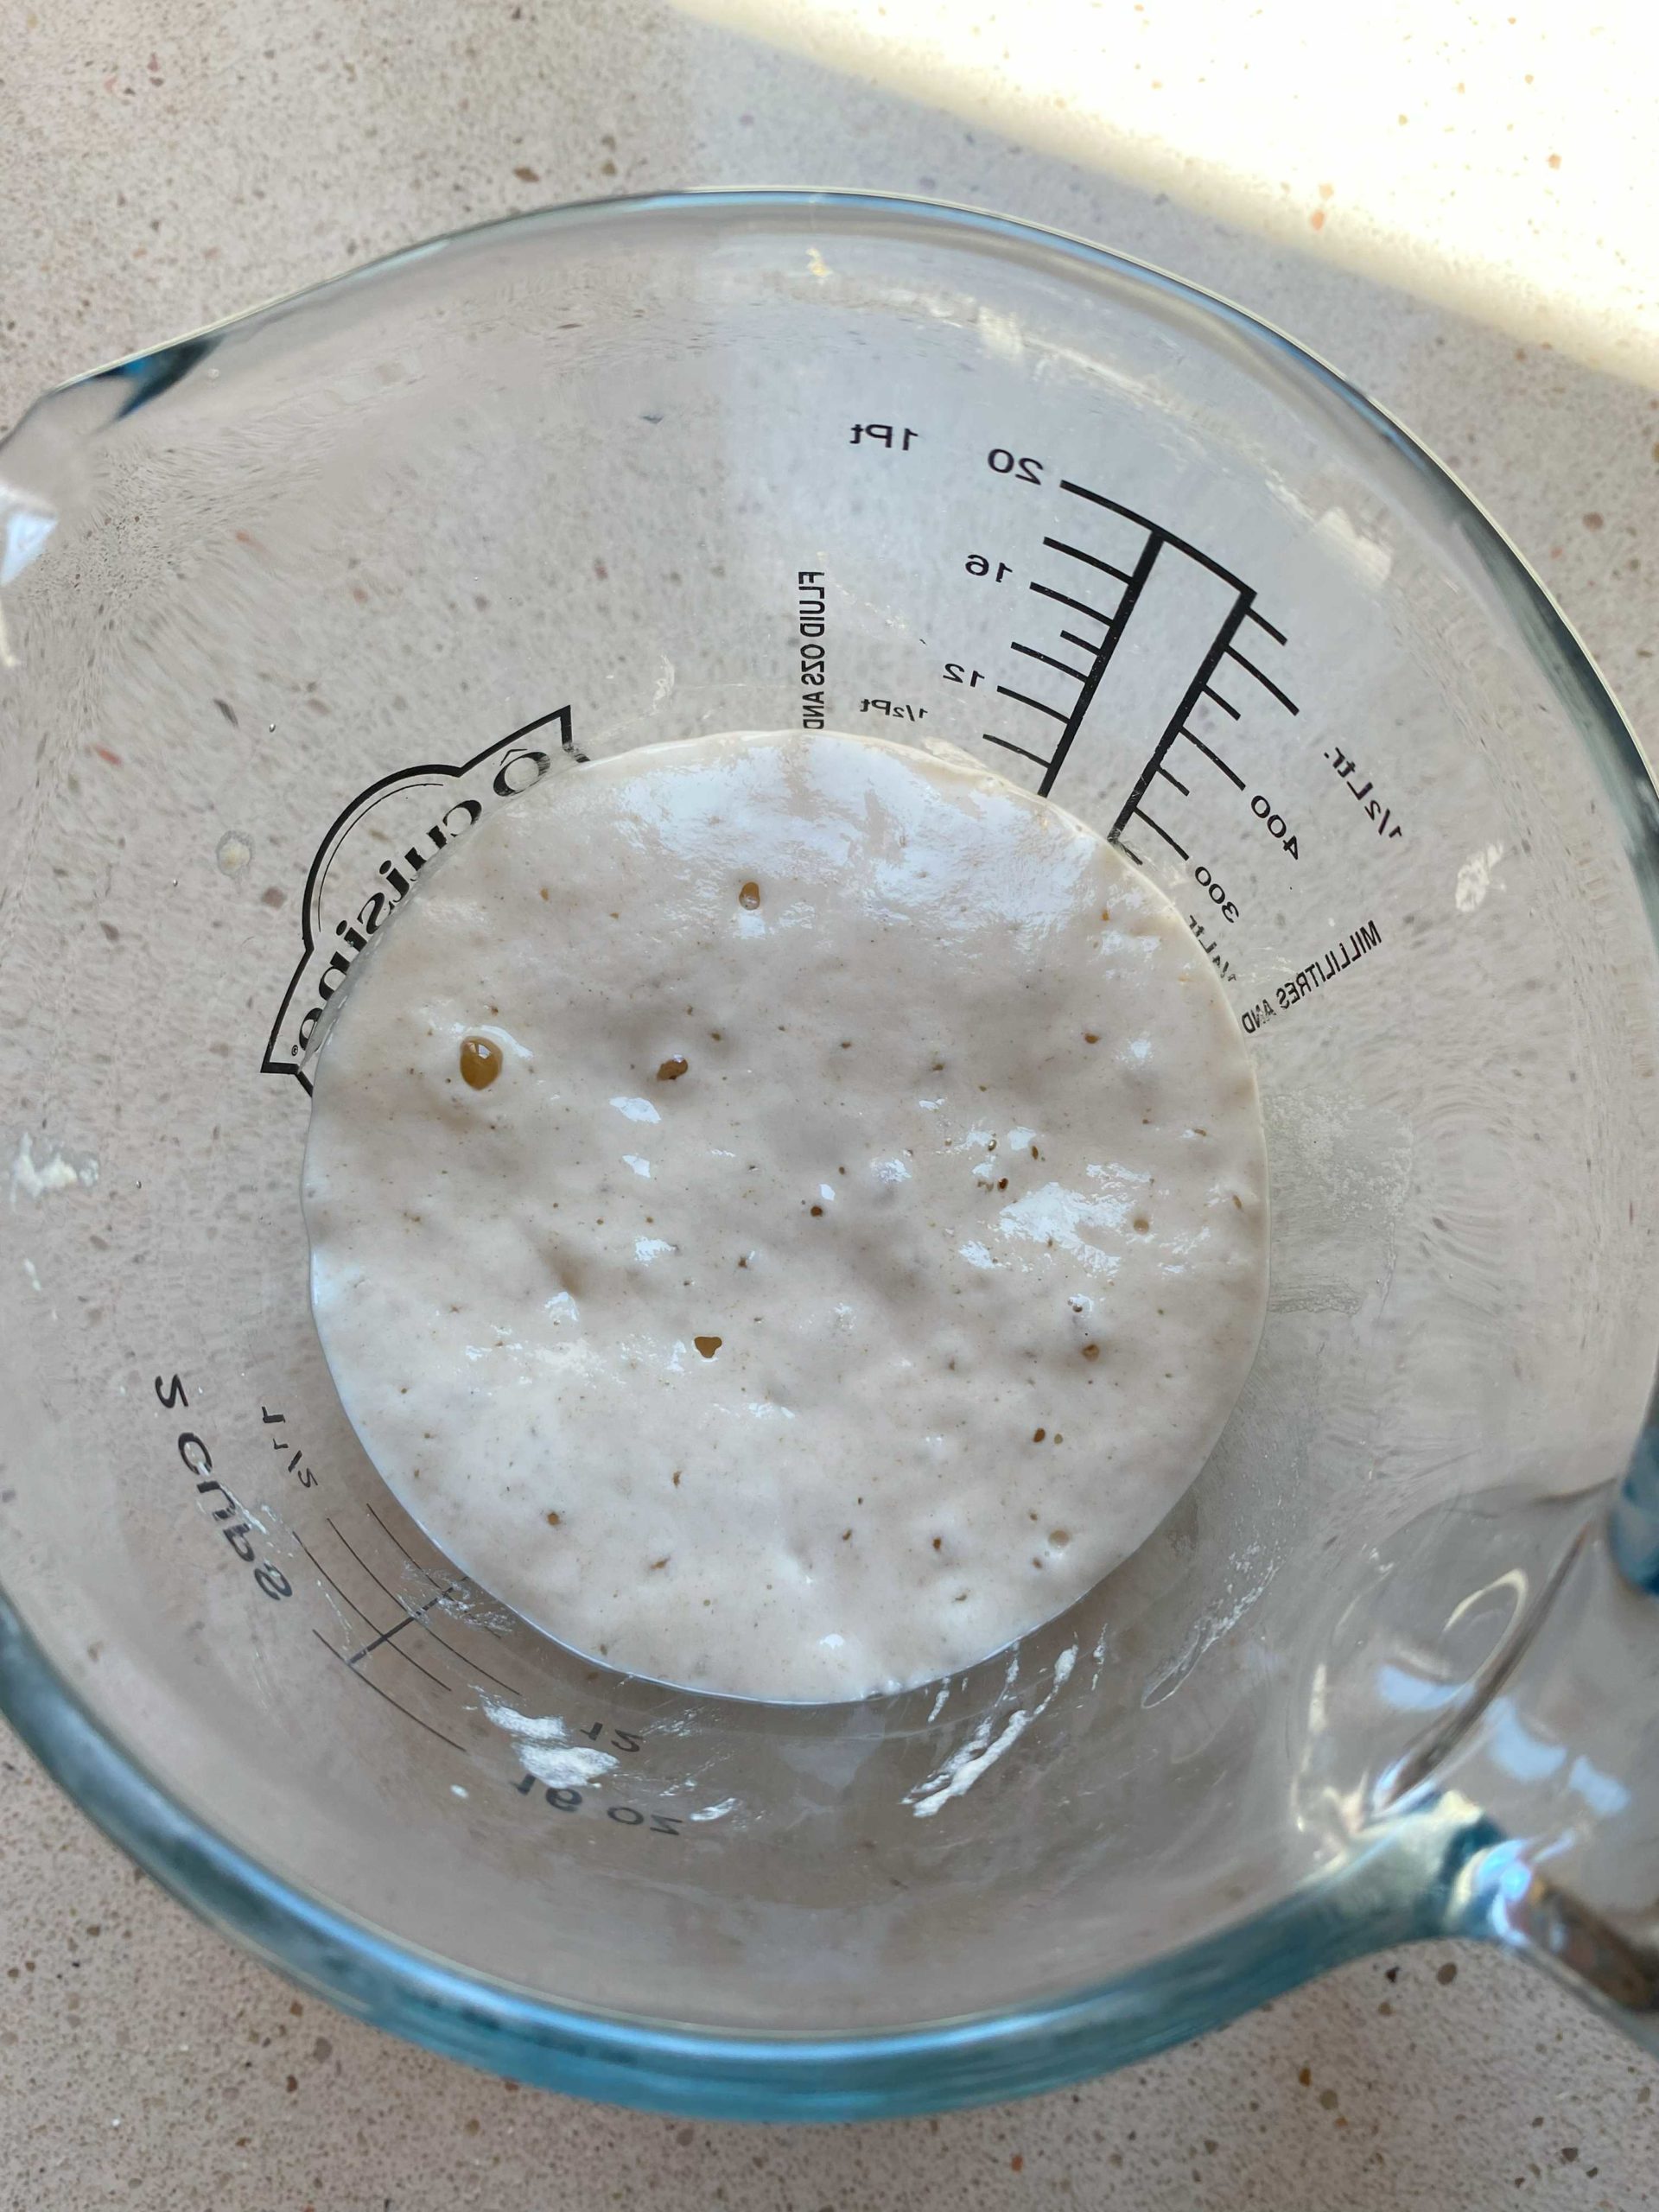
Step 2: Add 50g of bread flour, then 60g of drinking water (warmed to about 22-25C/72-75F). Mix everything up well until there are no more bits of dry flour (it’s ok if there are still some flakes of starter, it doesn’t have to be completely dissolved).
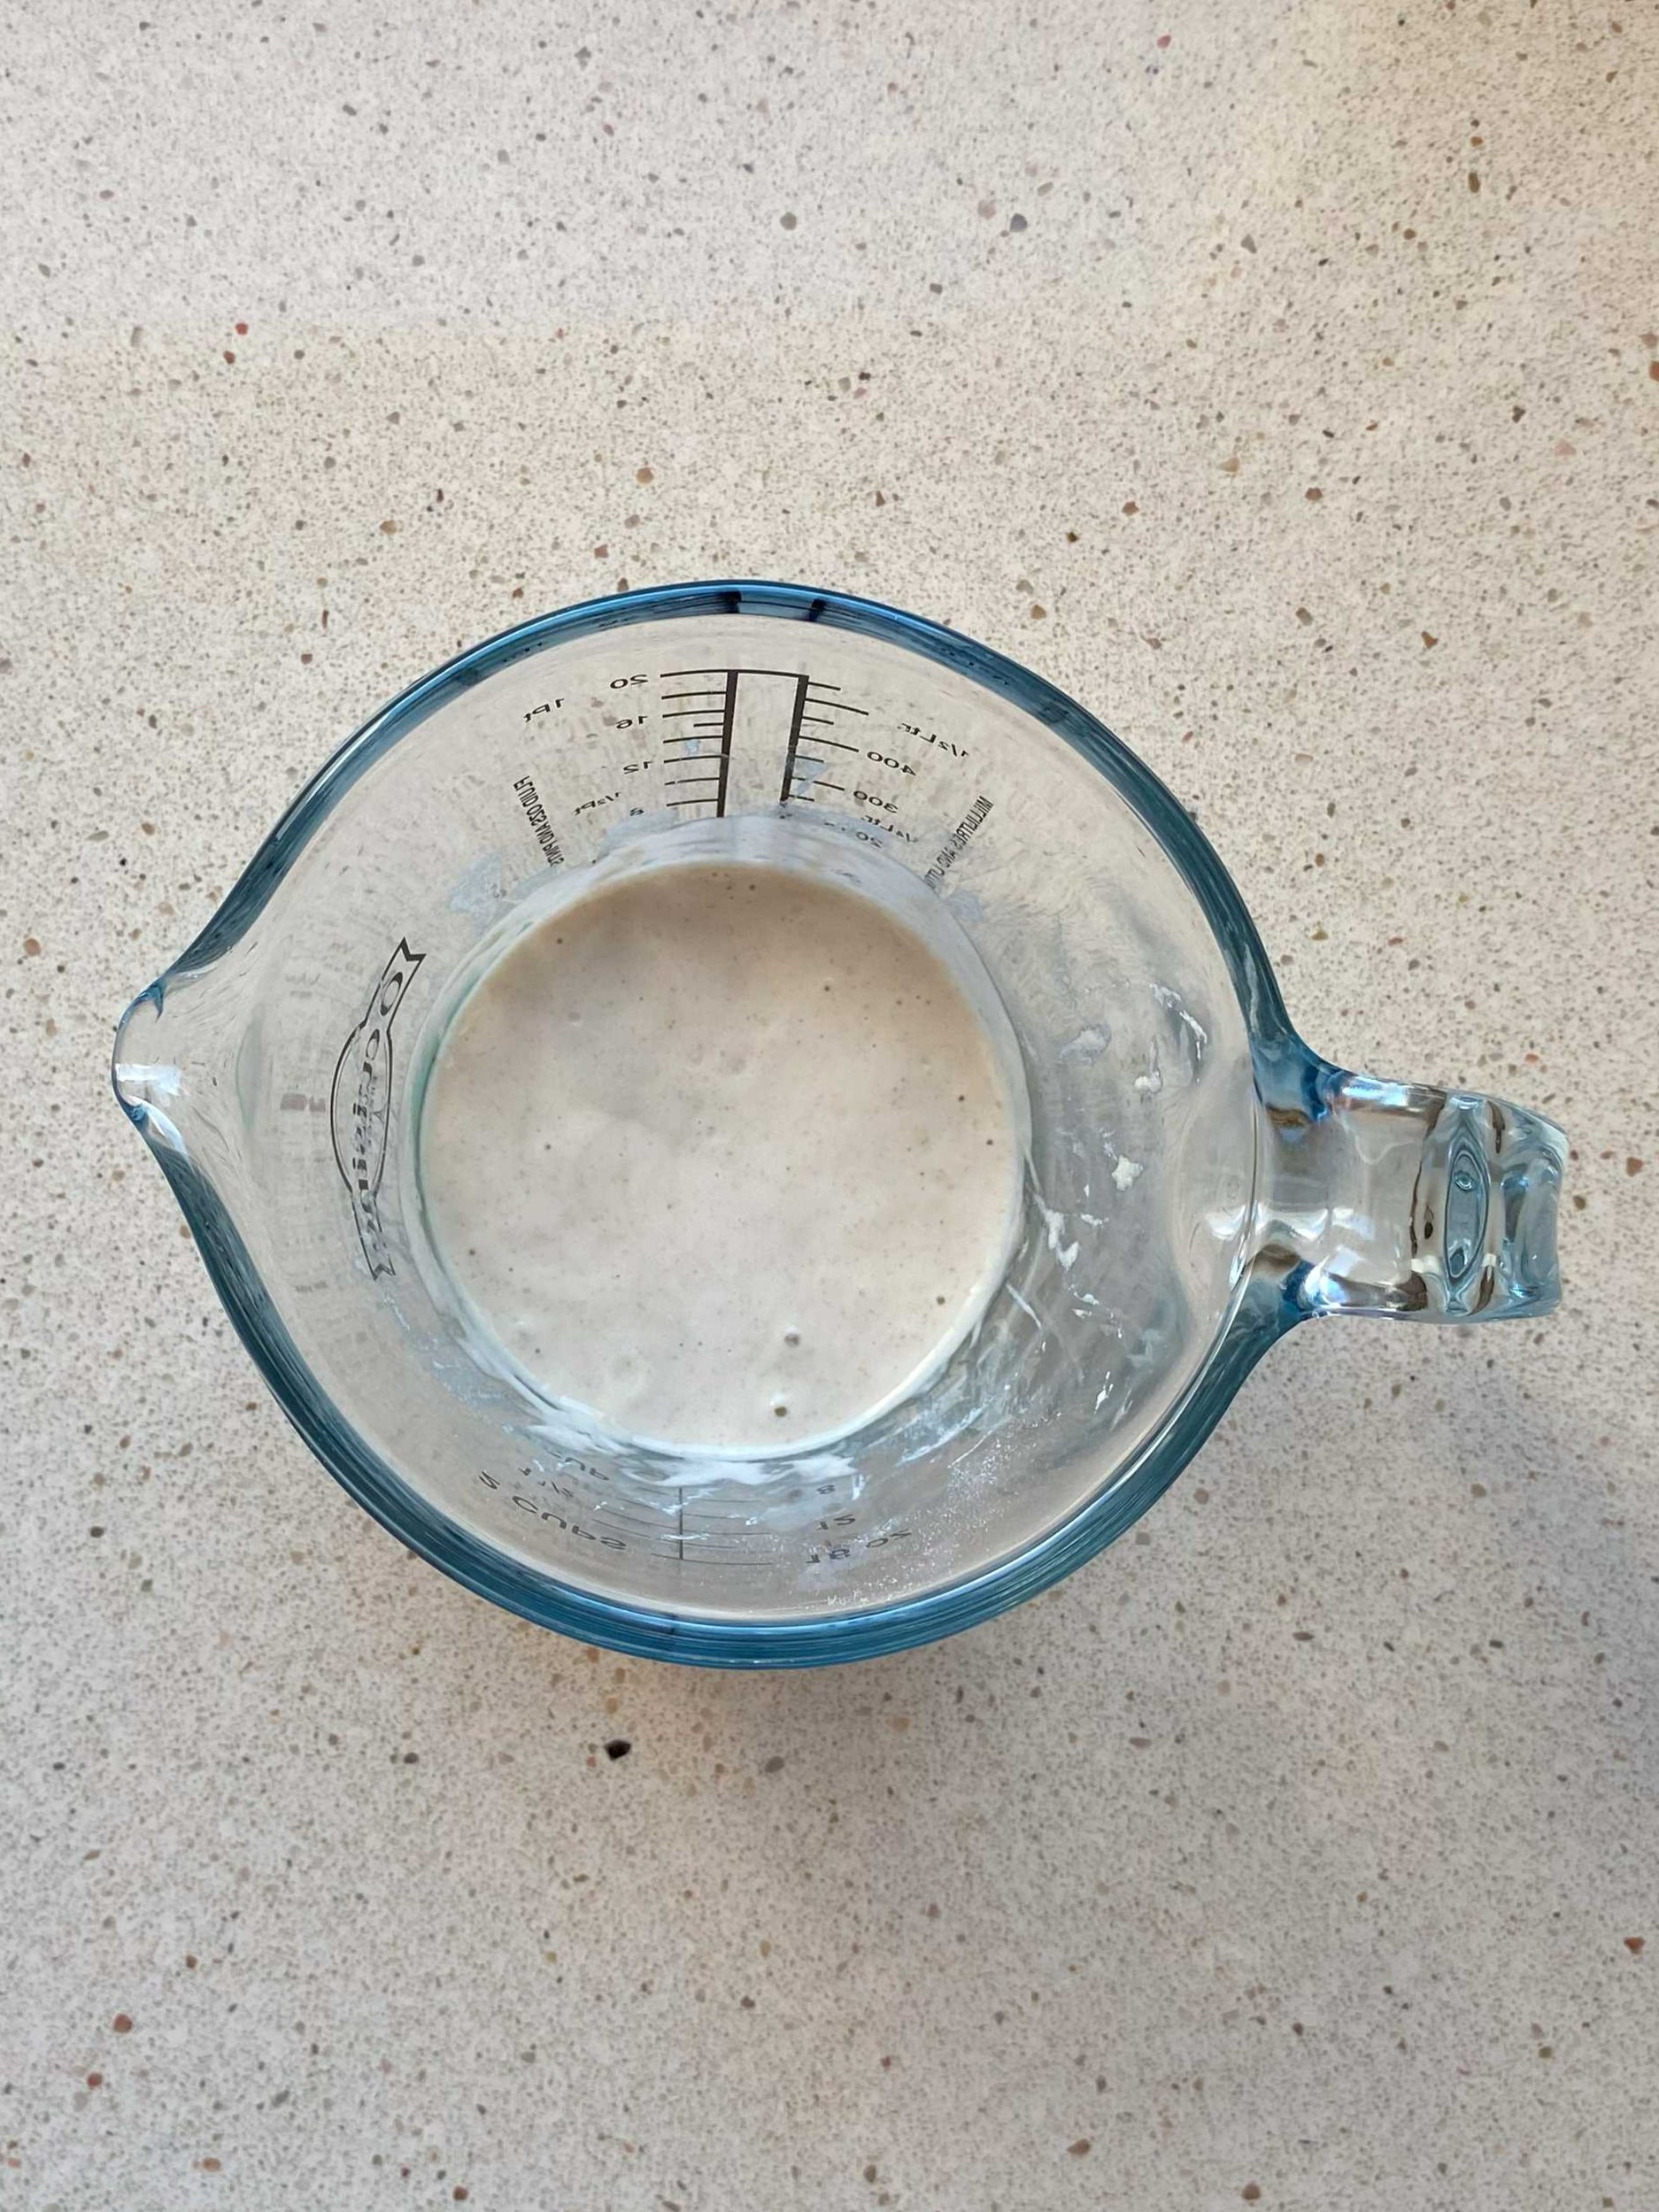
It will look like flour and water mixed together as in the photo below.
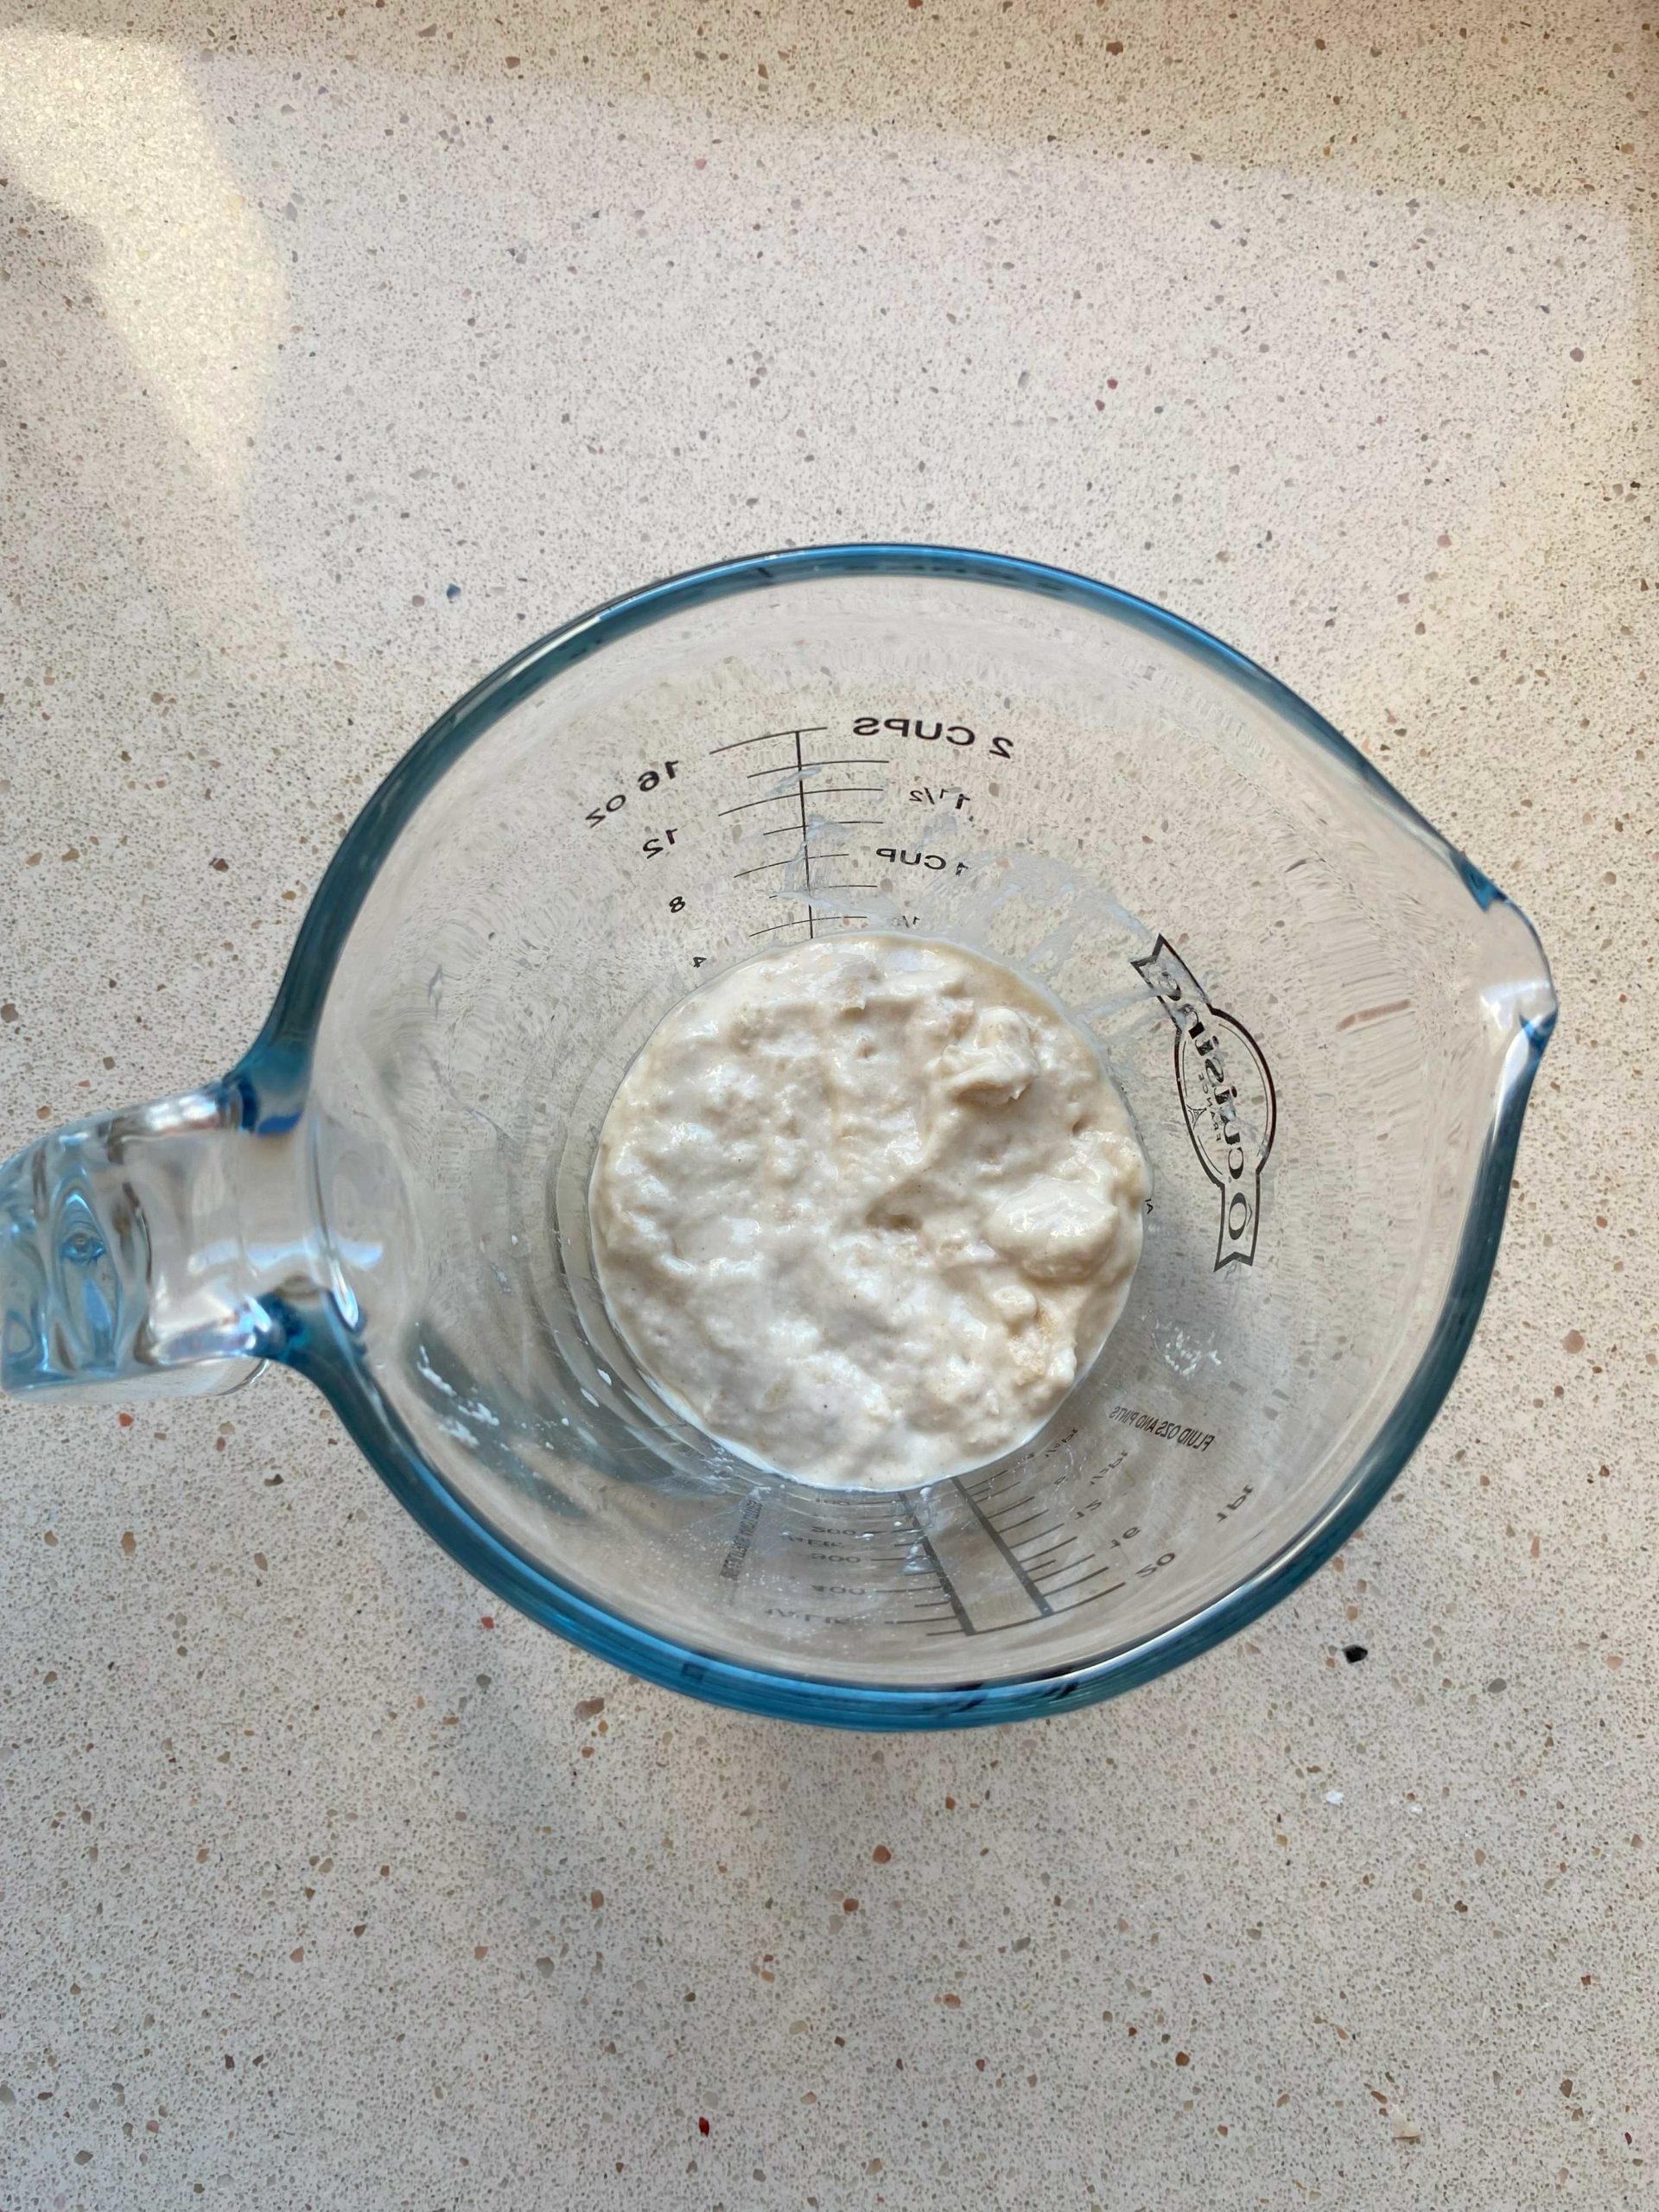
Step 3: Cover loosely with a wet towel or plastic wrap, and let that sit at a warm room temperature (at least 25C/75F) for about 24 hours. Stir occasionally every few hours or so.
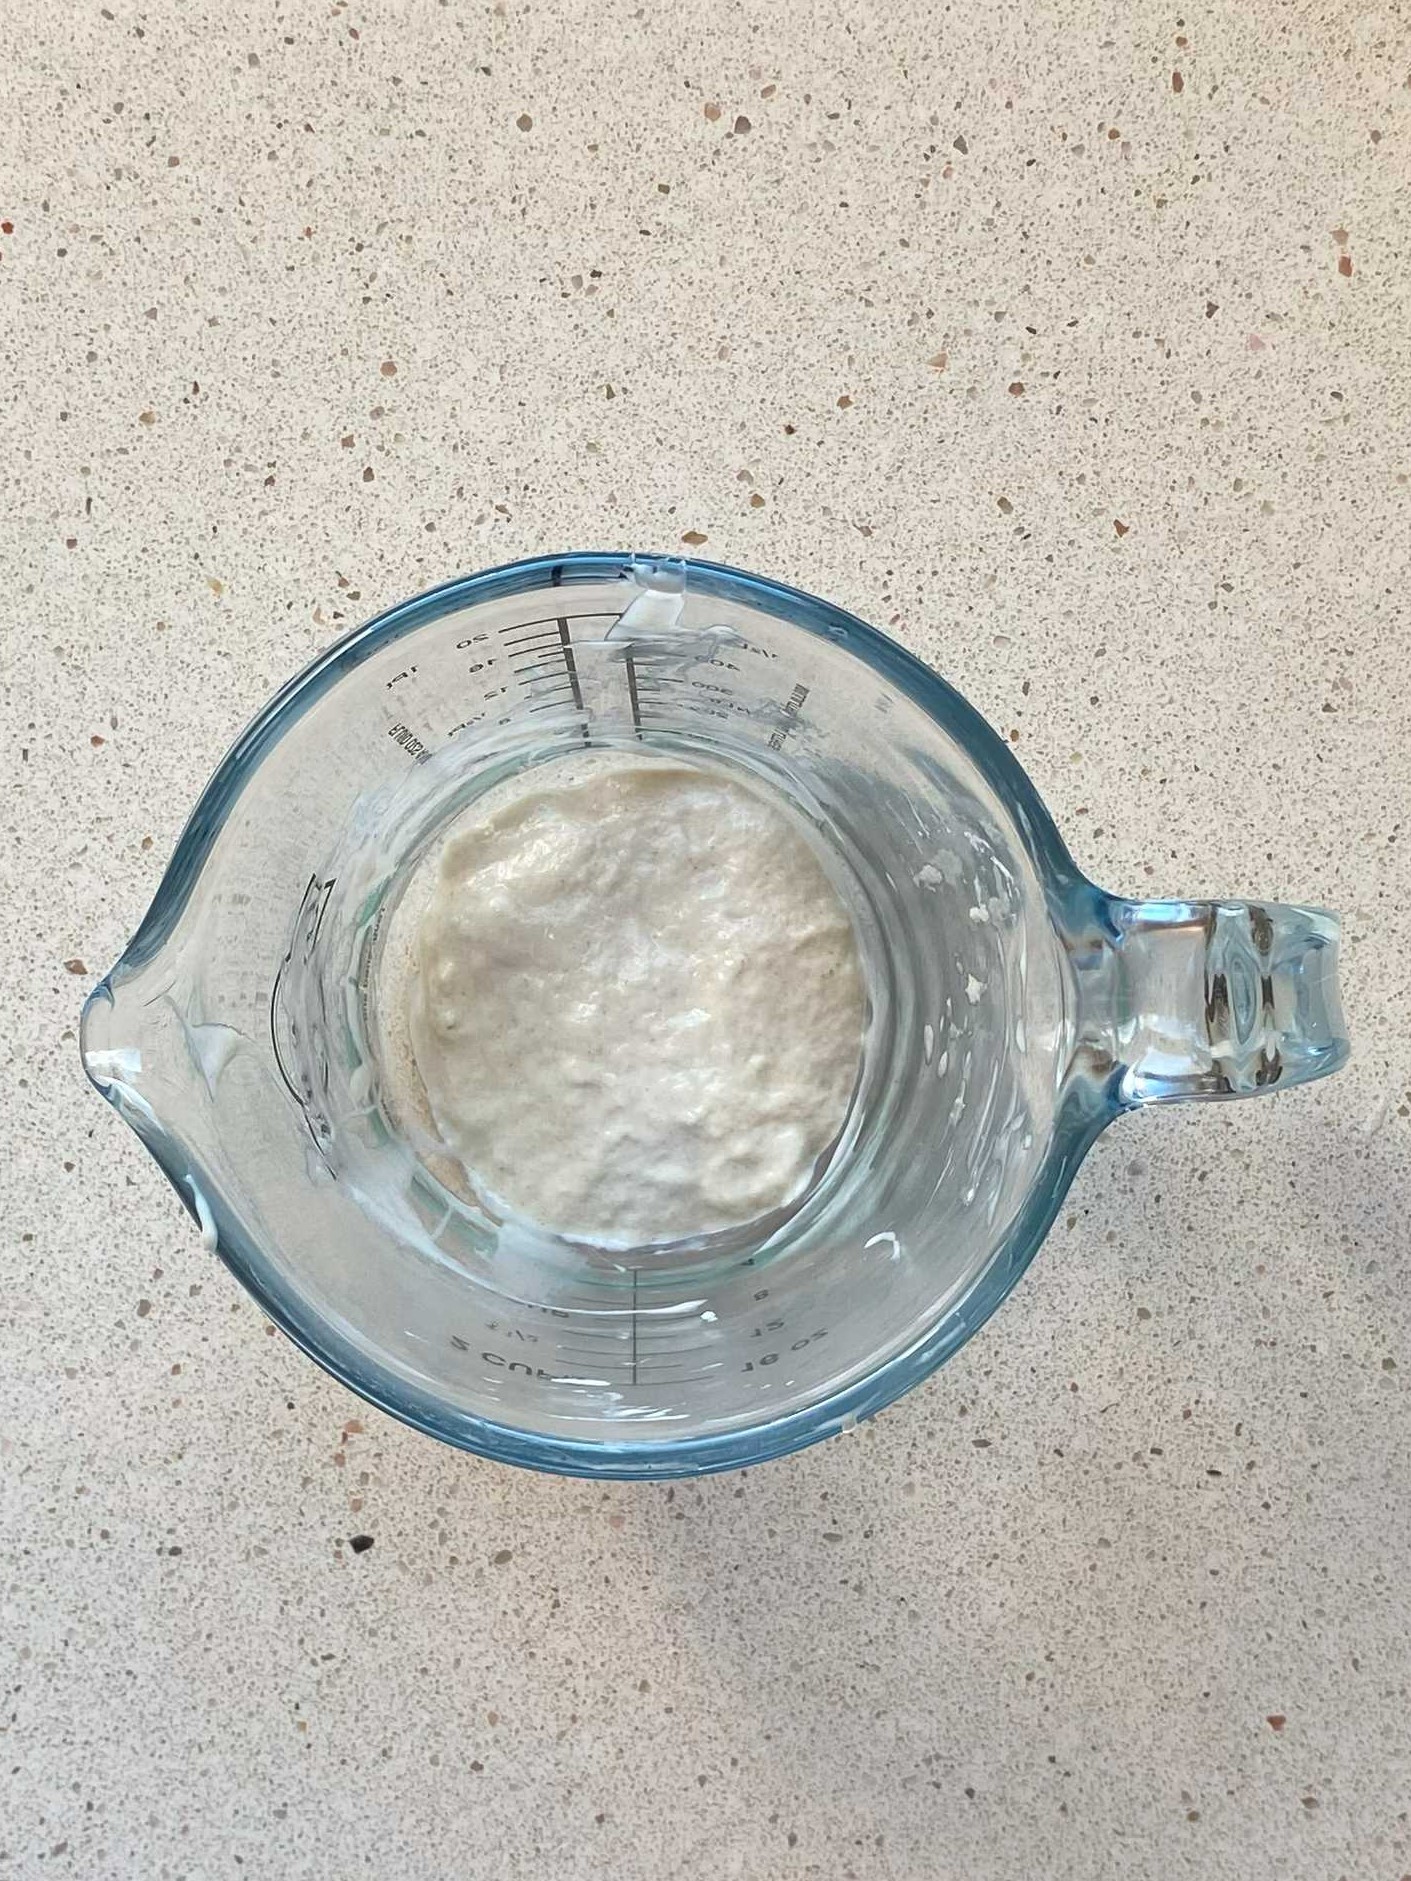
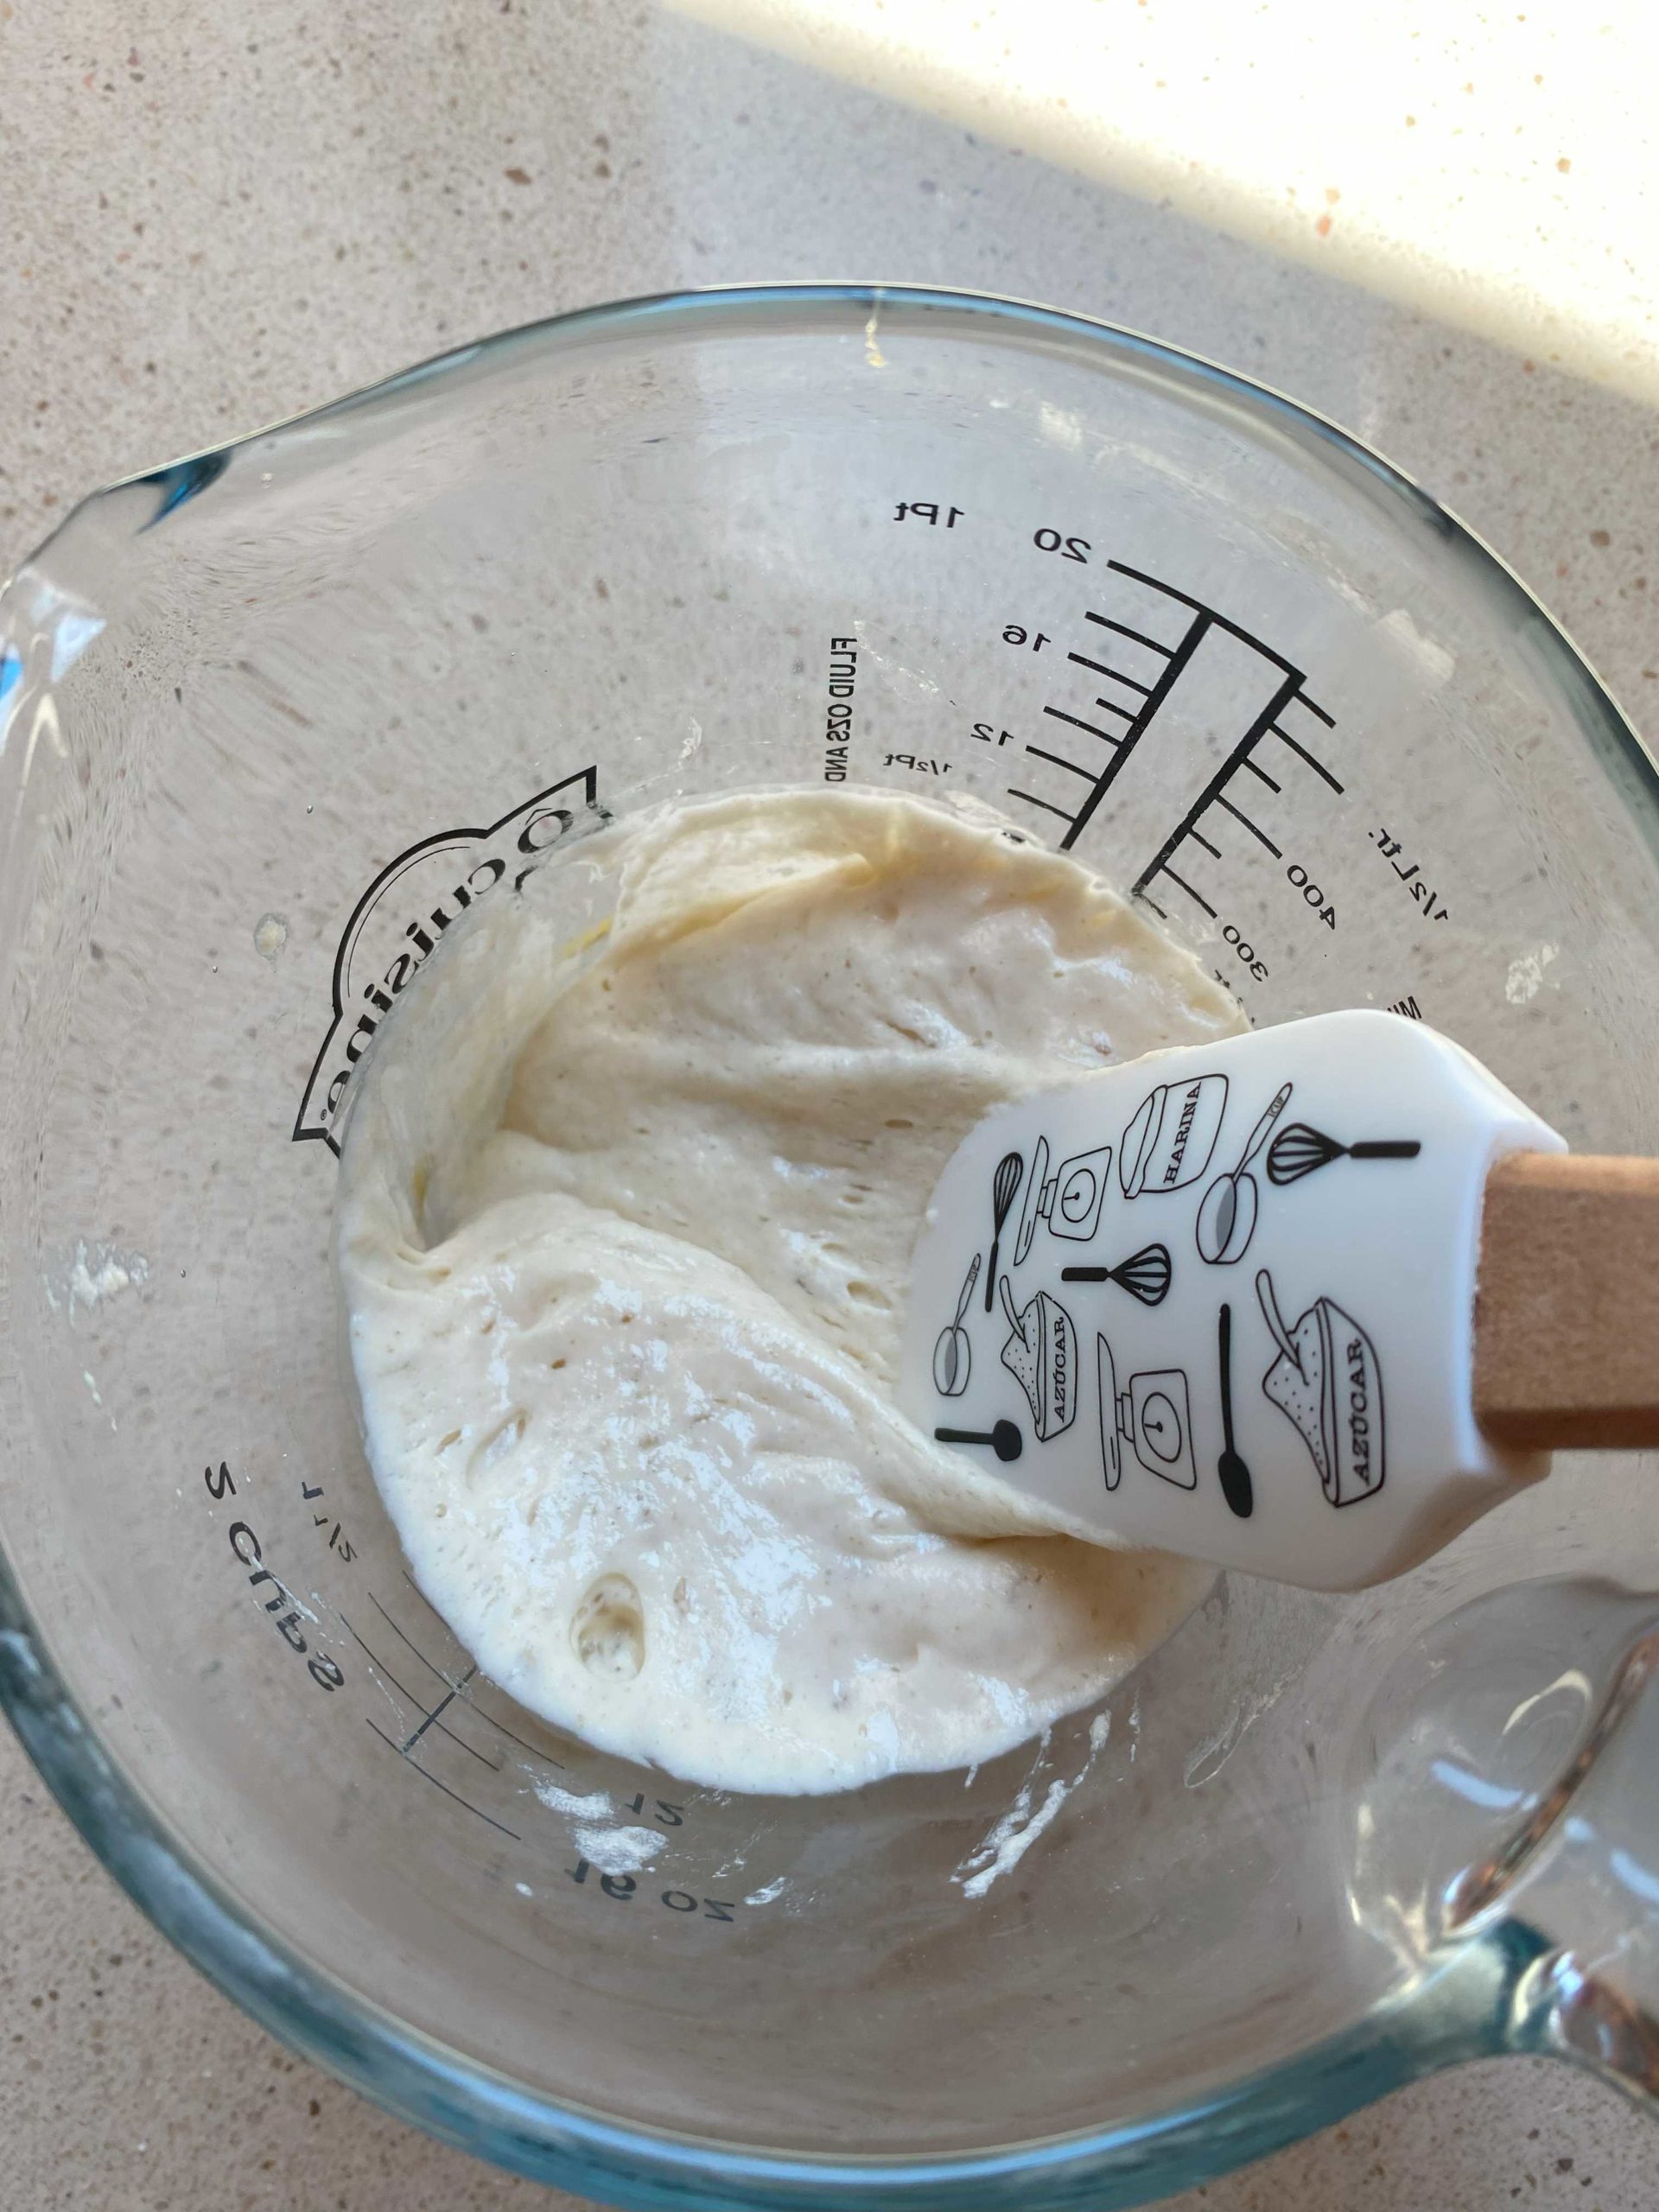
Step 4: After 24 hours, you should be seeing some bubbles on top, and the texture will be a bit liquidy like in the photo below. If the starter is very newly dried it might still be very active, so at this point, it might have lots of bubbles with a light marshmallow-like texture. That is great, but either way, we still need to activate it a bit more.
Step 5: The next step is to “feed” the starter with flour and water in order for it to continue activating. Measure out 15 grams of the starter in a separate bowl. To that bowl, add 30 grams of bread flour, and 30 grams of drinking water (warmed to about 22-25C/72-75F). Mix everything up well until there are no more dry flour bits, and cover. Leave this newly fed starter in a warm place (at least 25C/75F) for about 5-6 hours, or until it doubles in size. To track that it is growing, mark the starting line of the container with a marker or rubber band like in the image below.
The starter that is left over in the previous container is what is called “discard” and that should be stored in the fridge. Although it isn’t as active, you can use it for loads of recipes including sourdough discard crackers, so don’t throw it away! Once you keep “feeding” your sourdough starter, add anything leftover to this discard in the fridge to use for a recipe.
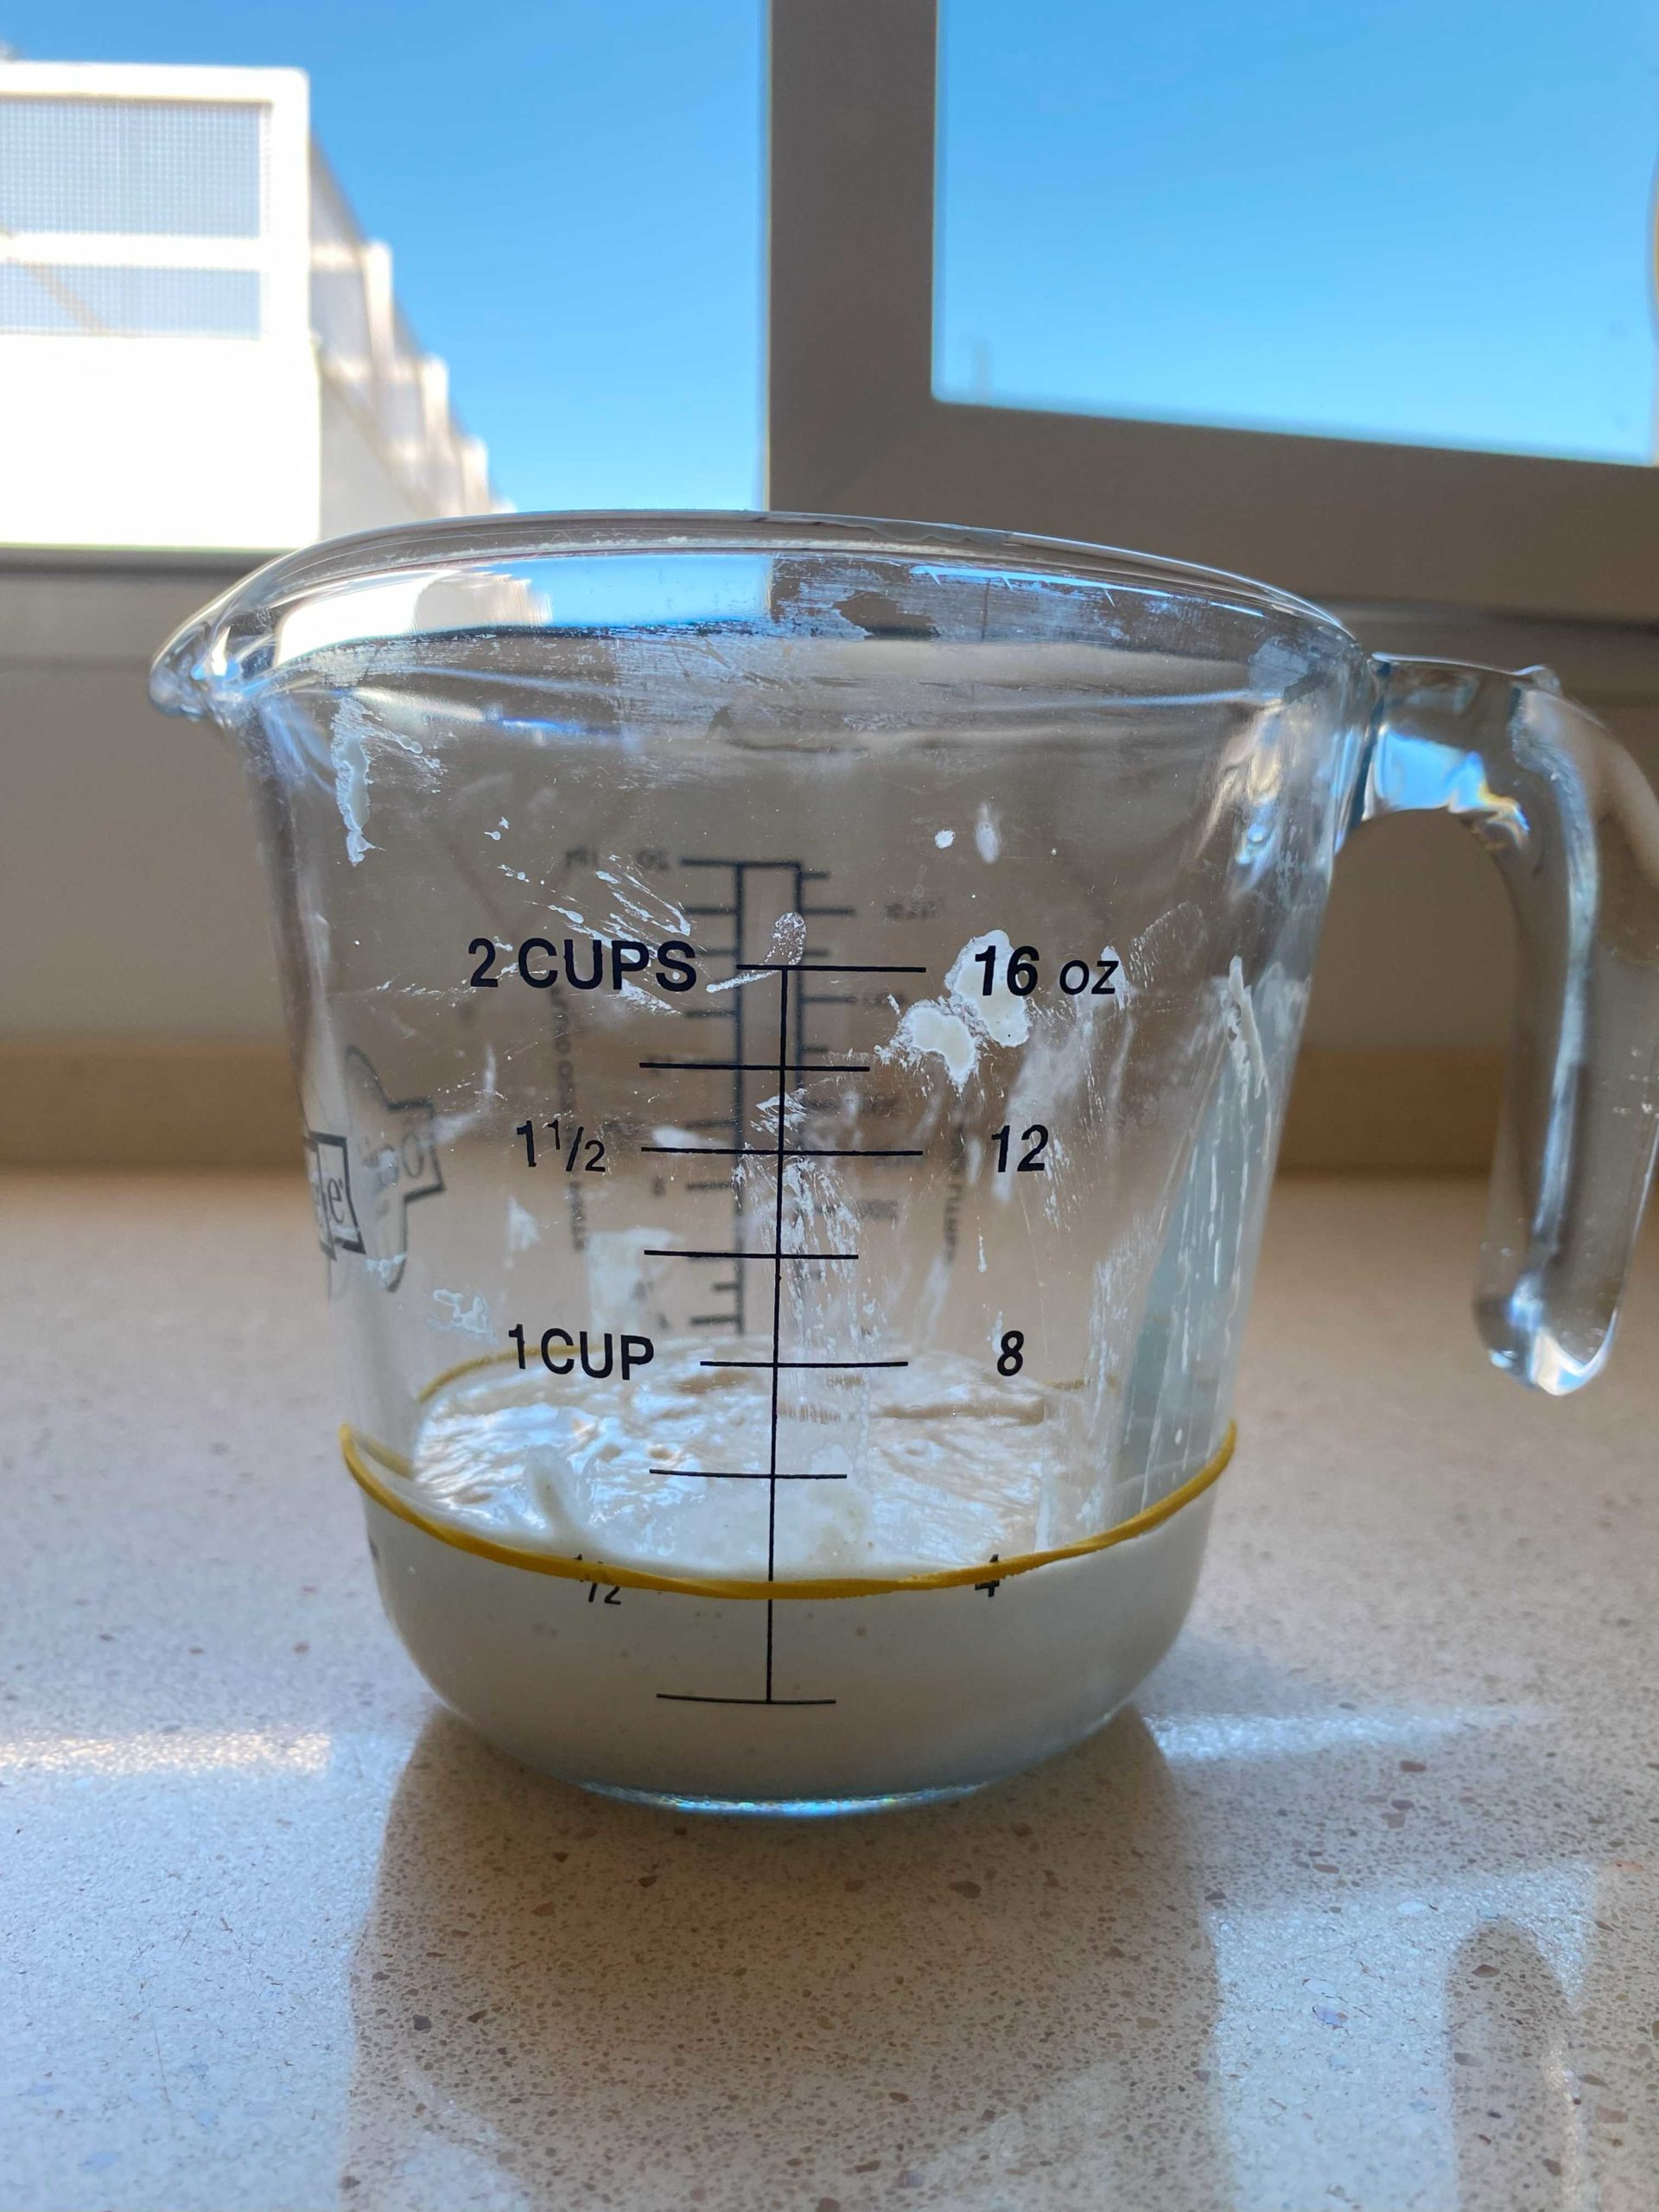
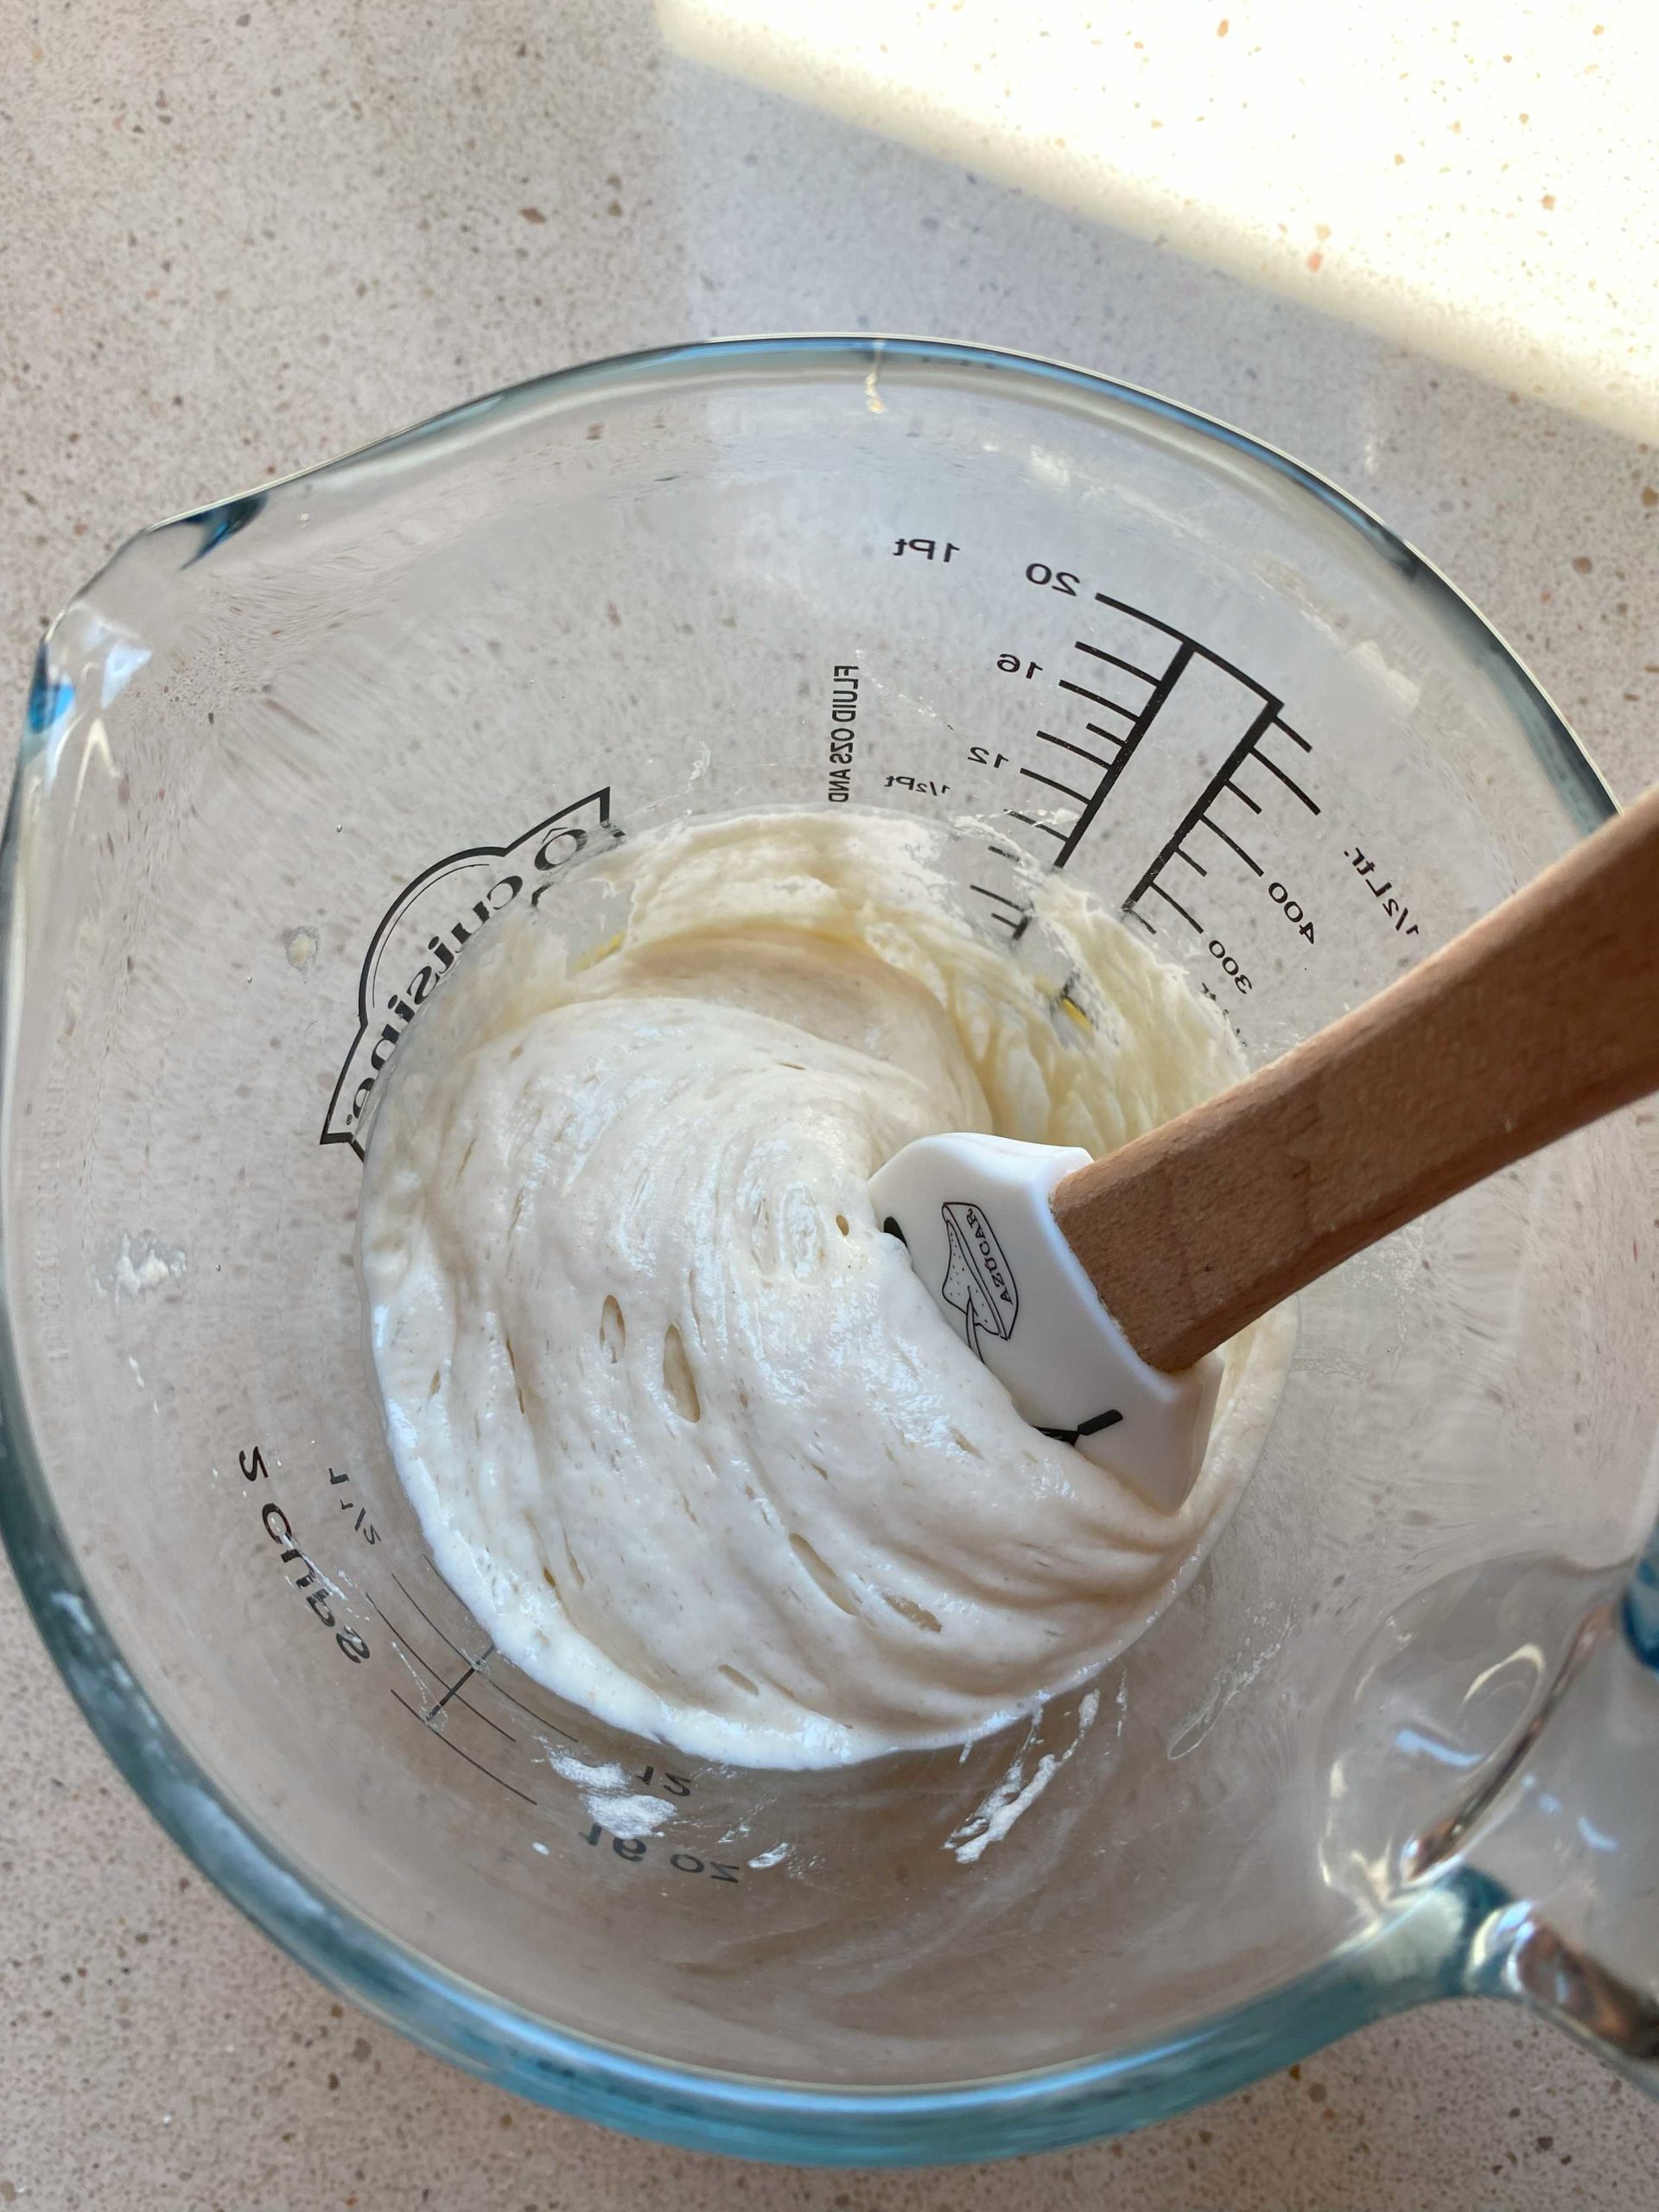
Below: Sourdough starter that has doubled in size. The texture is light and fluffy, like melty marshmallows and smells sightly sweet. If it smells like nail polish remover that means it has fermented a little too long. But that is not an indication of a problem, you can still use that to create a levain or just repeat the feeding step again before creating a levain.

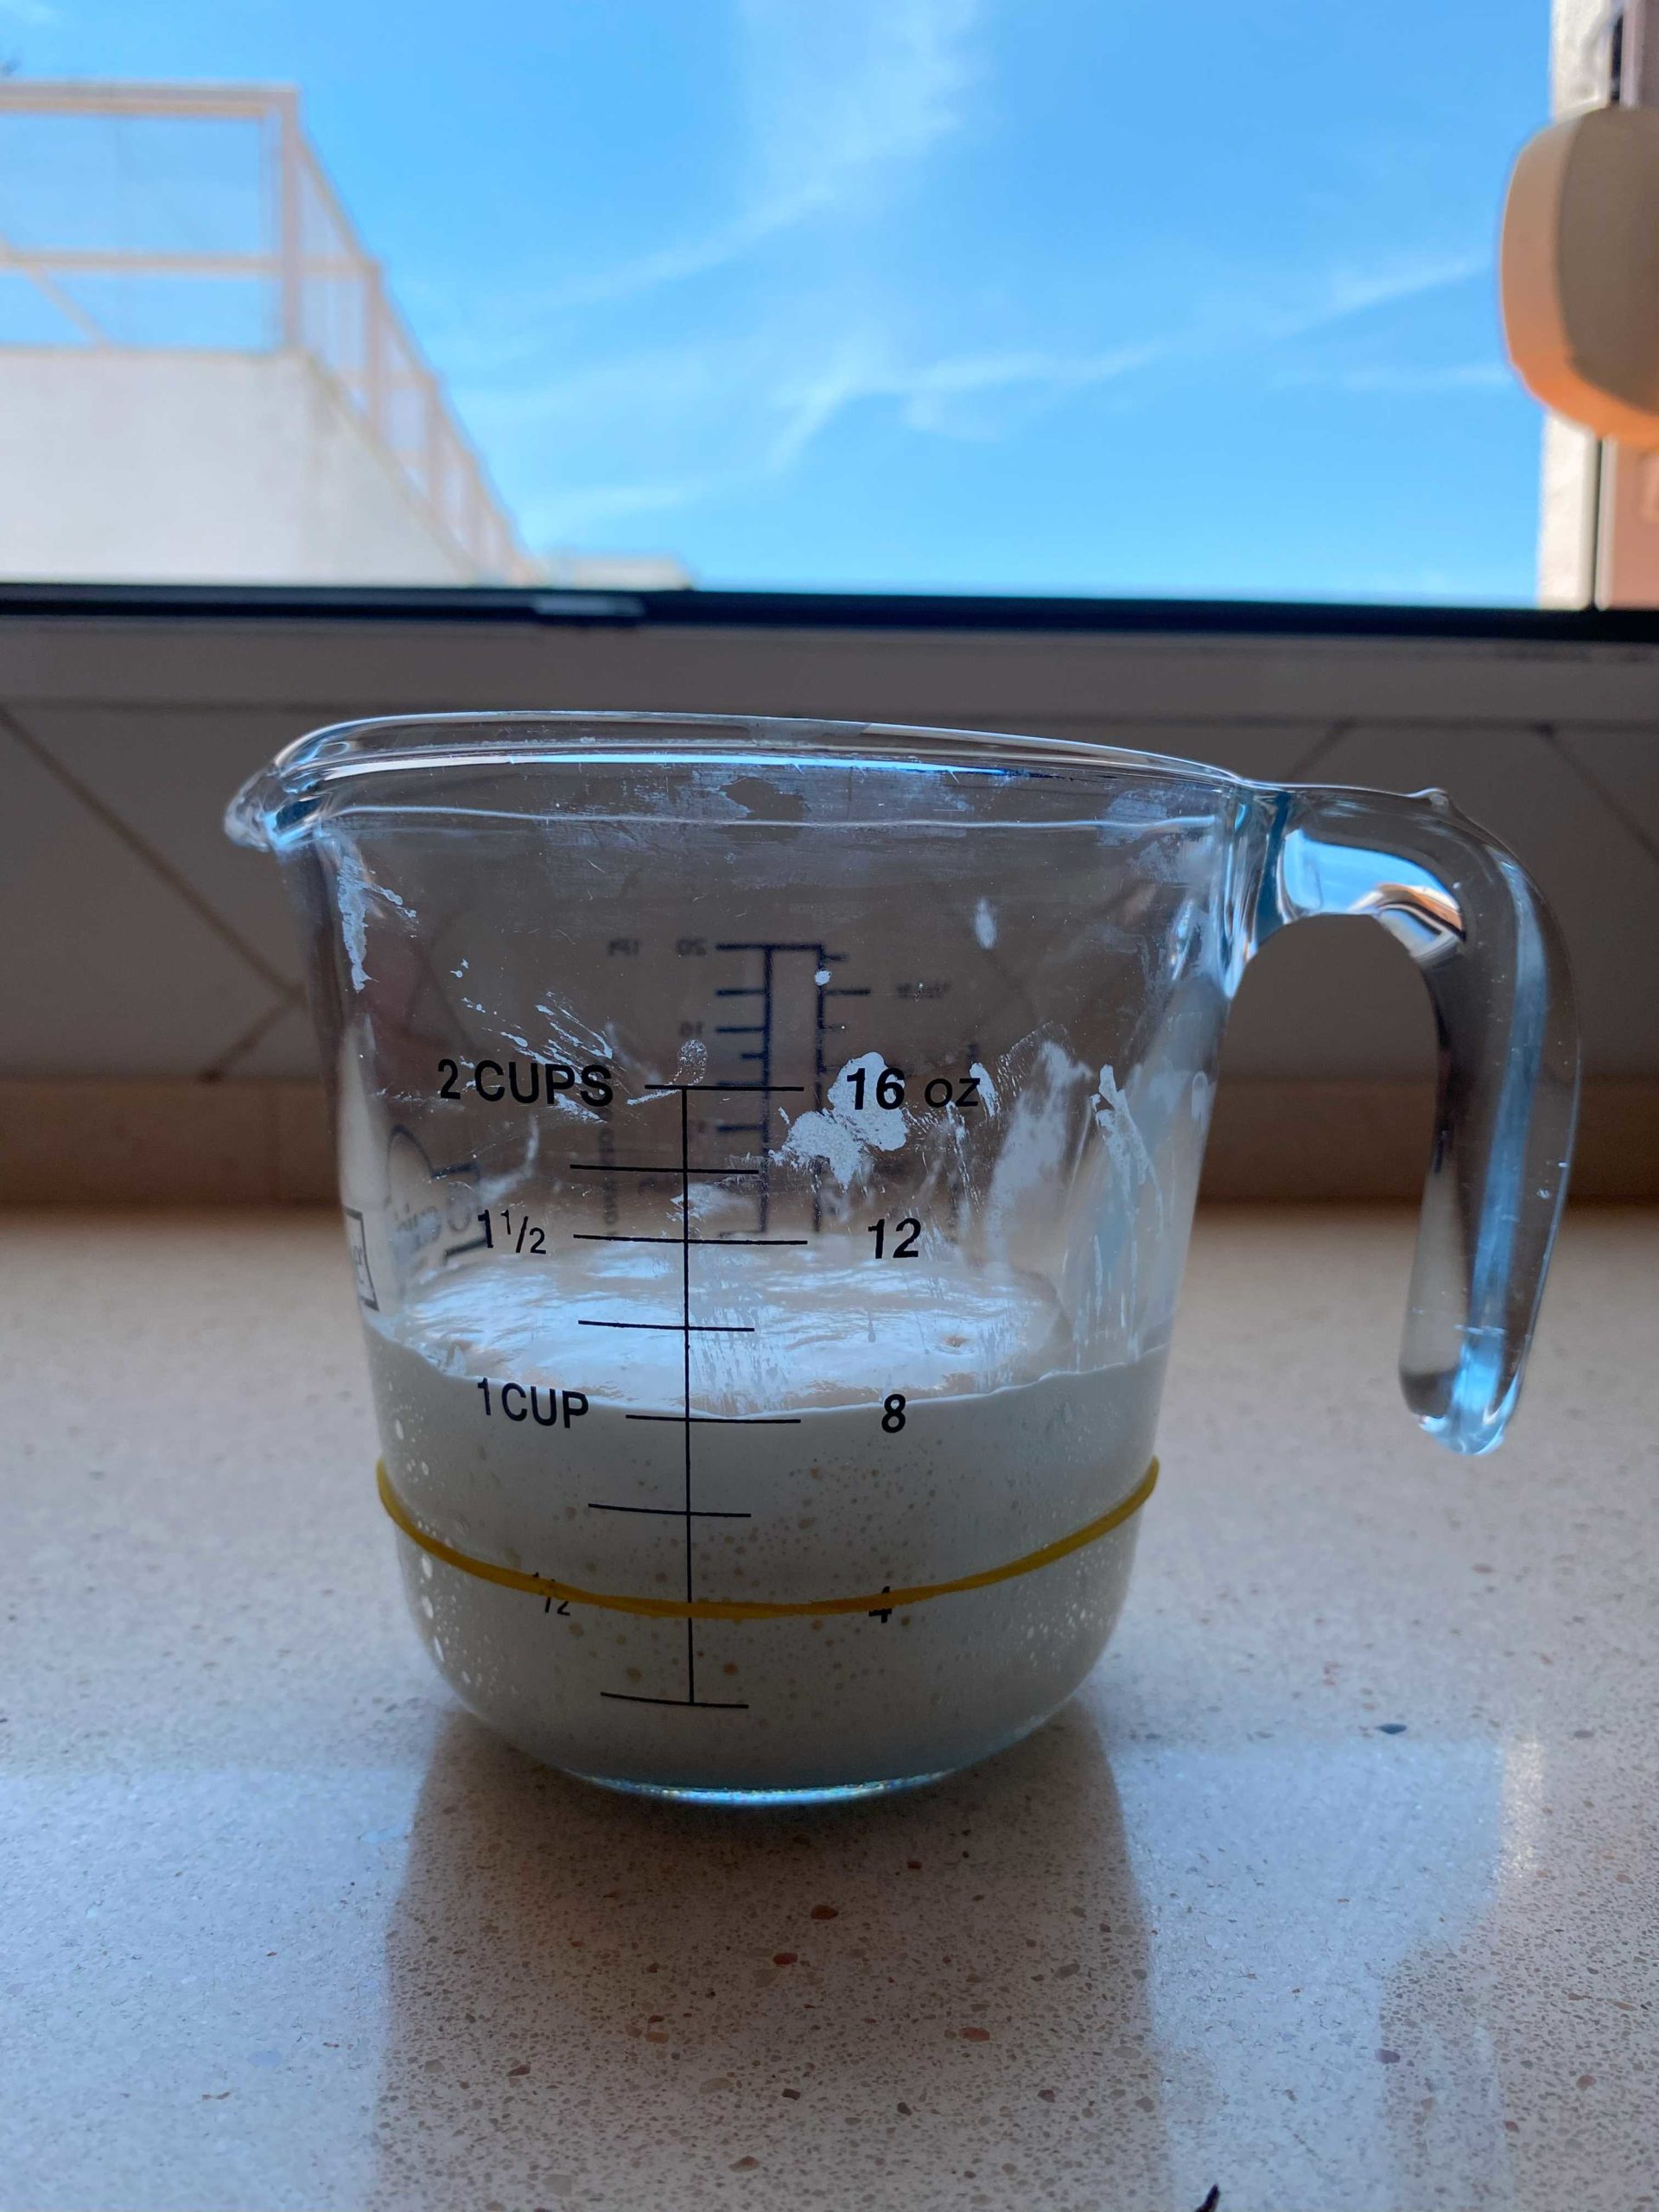
Below: An overhead view of the sourdough starter when it is doubled in size. It is a bit fluffier with some bubbles on top (if there were a LOT of bubbles on top, that might indicate the starter is overly fermented adding a lot of sour flavor and it would be a little weaker in strength. The image below it just right).
Step 6: Once your starter reaches double its size within 6 hours or less, it is ready for you to create a levain* and use in a sourdough recipe. If it does not grow to double within 6 hours but shows some signs of growth, let it sit for longer in a warm place and wait for it to reach double. Then, repeat step 5 and wait for it to reach double in 6 hours or less.
*Note: What is a Levain? A levain is the sourdough starter mixture you create specifically for your bread recipe. The starter is what you keep in the fridge, while the levain is exactly what you need for the recipe you are preparing. It will contain the flour you choose and the exact amount you’ll need.
Step 7: Once you are done creating the levain in a separate container, feed your sourdough starter and instead of letting it sit in a warm area, place it in the fridge. This is because it will ferment a lot slower in colder temperatures and will keep longer for about a week or two without having to “feed” it again.
NOTE: This is separate from your discard sourdough container! I usually keep a small amount of my standard bread flour starter in a jar in the fridge right next to a larger container of discard which is compiled of all kinds of different flour mixtures that were left over from refeeds or any extra levain. Once a week I take out my starter jar and refeed it with the same flour, while I do not do that with my discard container.
Sample Schedule For Reviving
Day 1:
8am – Mix your dried starter with flour and water and let it sit for 24 hours in a warm place. Making sure to stir it occasionally throughout the day.
Day 2:
8am – Feed your sourdough starter again and make sure to track its growth within a 6-hour window.
2pm – Give your sourdough starter another ‘feeding” and let it sit for another 6-hour window.
8pm – If your sourdough starter has grown to double its size or higher, it is ready to create a levain for a sourdough bread recipe (which you can let sit overnight to use first thing in the morning for bread making if you choose). If not, feed it once more and track its rise again the next morning.
What to Bake
Now that you’ve got an active working sourdough starter, it’s time to start baking bread. Try out any one of these artisan bread ideas:
1. My Go-to Artisan Sourdough Bread Recipe
2. 50% Rye Sandwich Bread
3. Sourdough Bread with Orange-infused Olive Oil and Sesame Seeds
4. 50% Whole Wheat Rustic Sourdough Bread
Discard Recipe:
