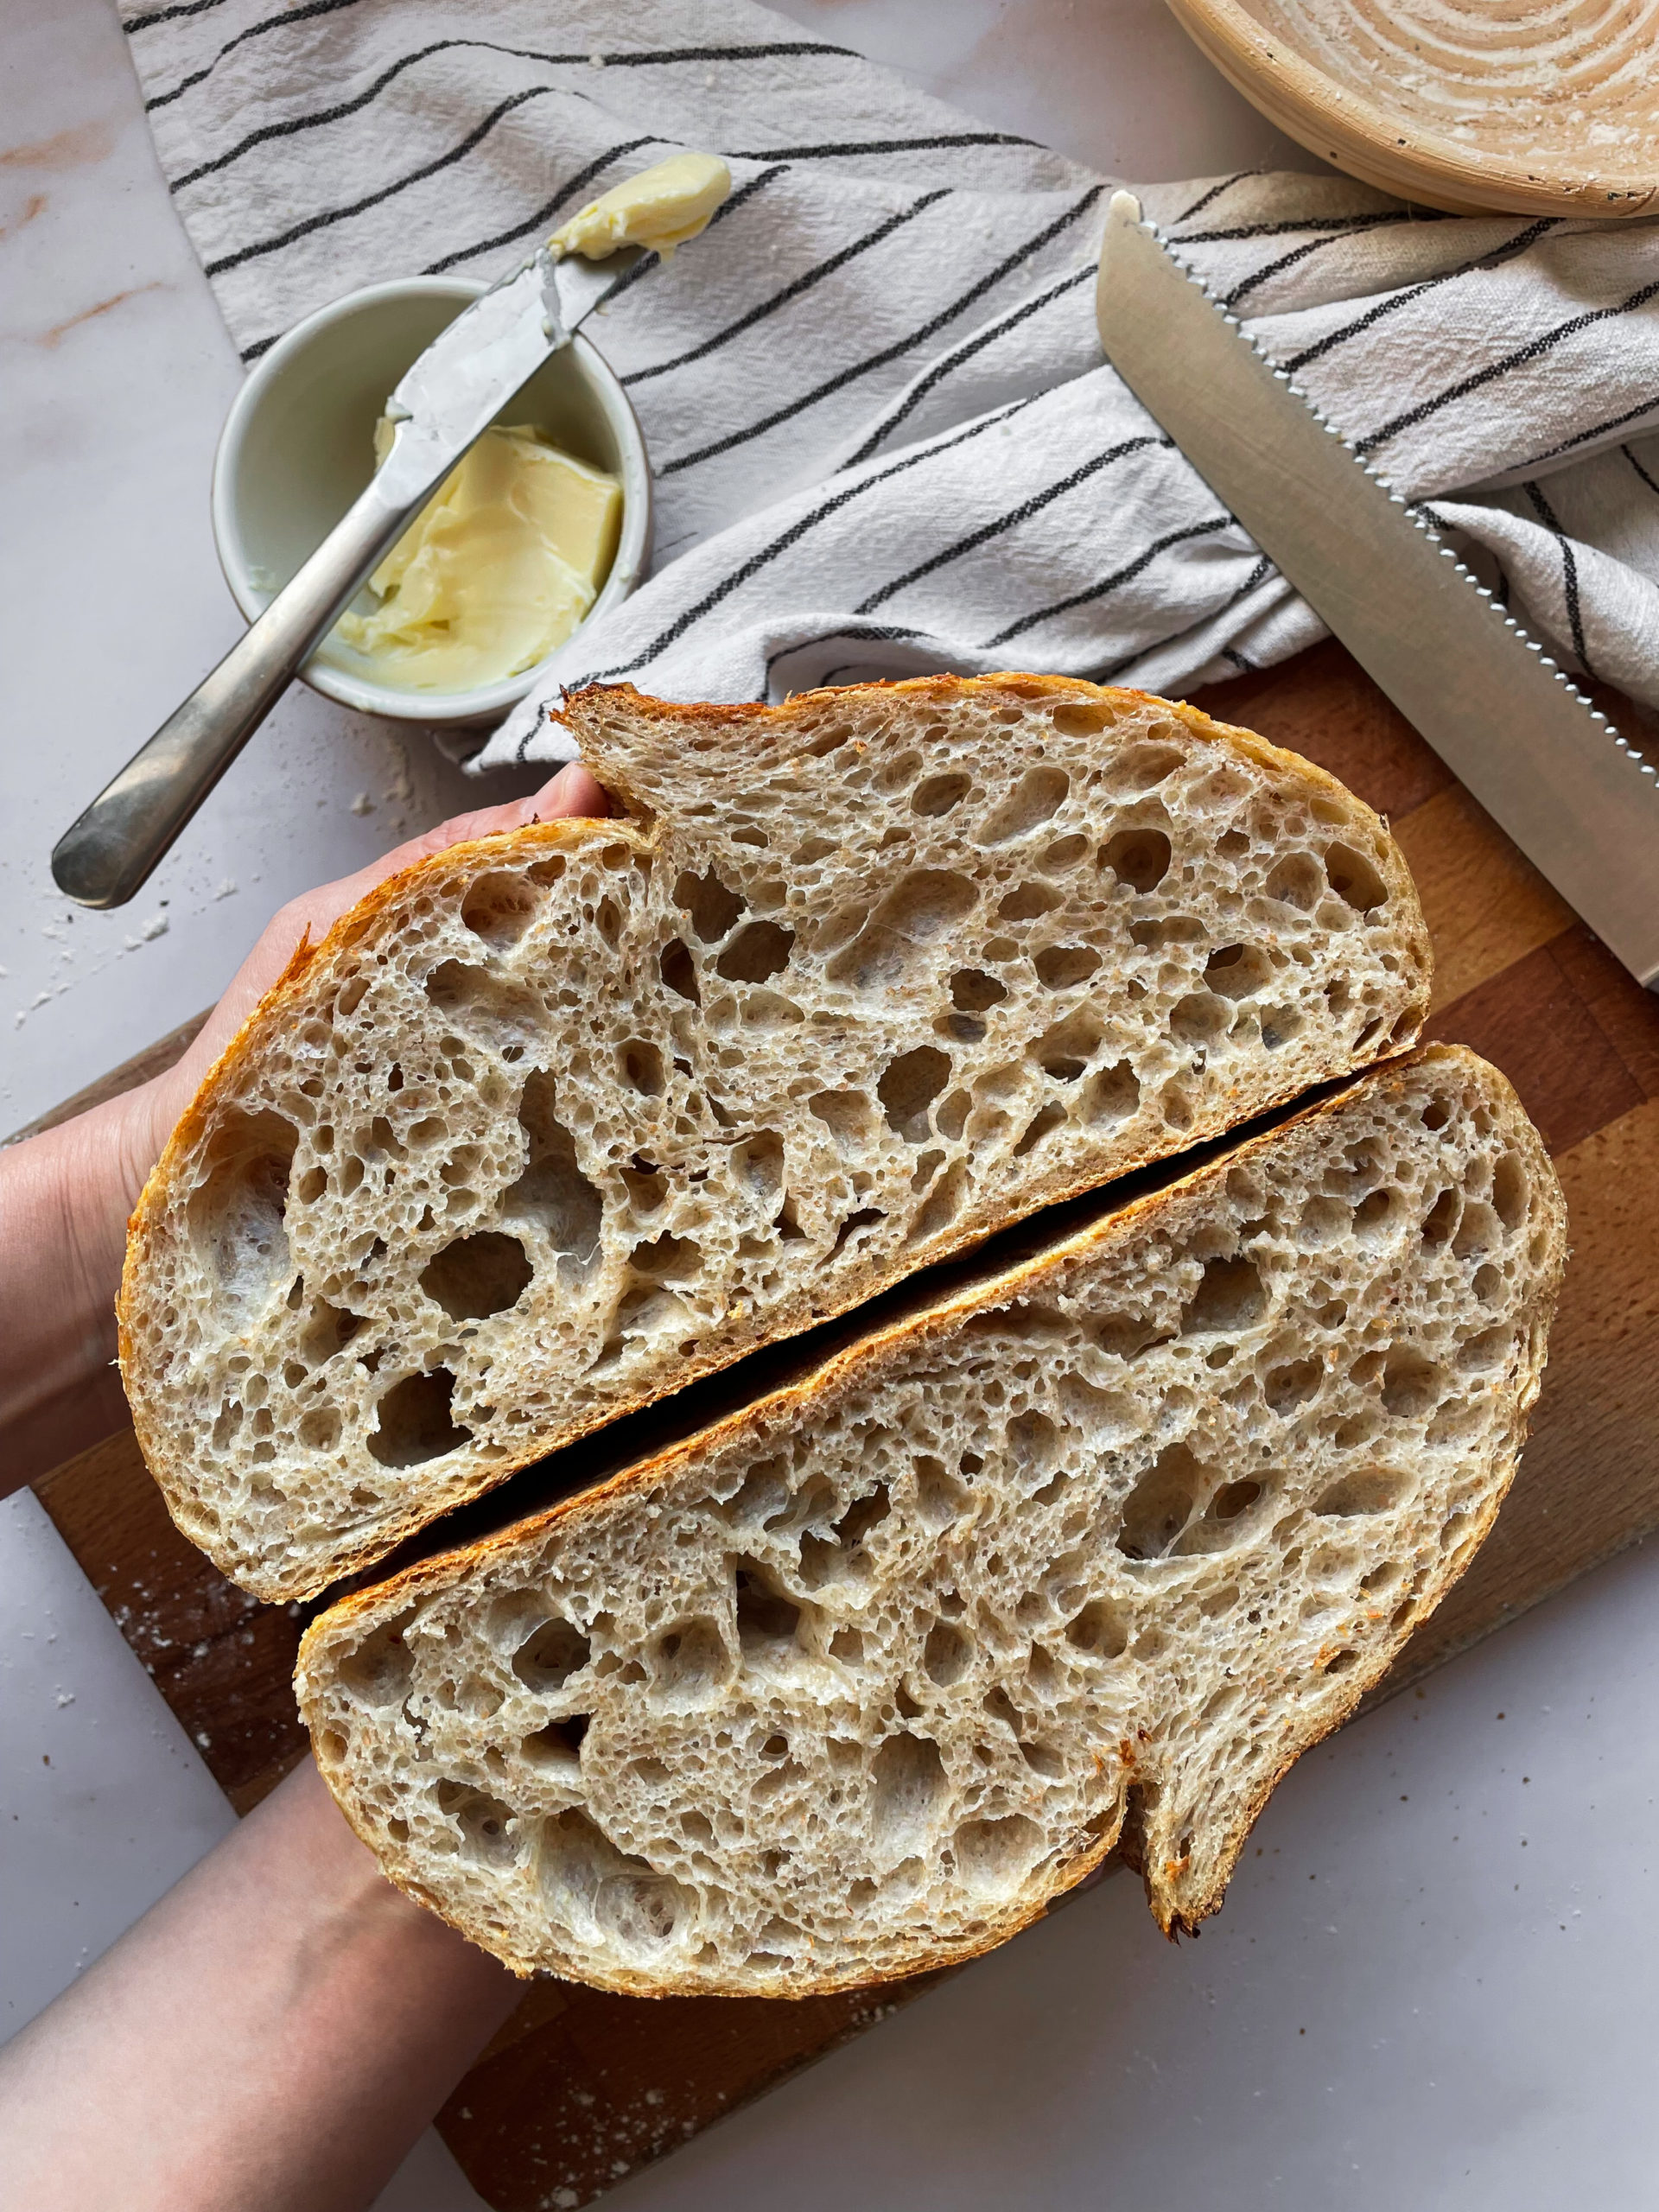
Preparing Sourdough Bread
One thing that took me years to figure out is that there are many different, and correct, ways to make sourdough bread. And, if you’re making delicious homemade bread that you enjoy eating, you’re doing it right!
My suggestion is that you use this recipe as a guide to making sourdough bread and that you experiment to find what works best for you. I spent many frustrated hours following recipes that just didn’t work in my home kitchen like it seemed to work for everyone else. My hope is to be as specific as possible so that you can take what you see here and mold it to your preferences, taste, and home kitchen.
How to Master Sourdough
Preparing sourdough bread and other goods is either a hobby or a profession. It’s something that takes quite a bit of practice and requires you to get over your own limiting beliefs about how you “may just not be good enough” to keep going. It’s simple, but at the same time requires almost a level of mastery that may take years to fully develop (In fact, I don’t think anyone can truly know everything there is to know).
Over the years I have been very frustrated by many recipes from bakers that just didn’t seem to work the same for me in my kitchen in Southern Spain. And, that is completely normal. My suggestion to you is to follow this recipe like a guide and experiment at home in your kitchen by taking notes until you reach your desired bread outcome. I’ve provided troubleshooting hints that have taken me years to learn based on my own situation, which I’m hoping might help you out on your bread-baking journey.
If you produce bread that you are happy with on your first try, that is fantastic and I encourage you to continue as there is nothing quite like making long-fermented homemade sourdough bread. If you’re on the other end of the spectrum where you know you can do better, I encourage you to keep going and listen to your instincts, no one else is in your same kitchen or outdoor space, for better or worse.
Before Starting the Recipe: A Note About Flours
Whether you’re an experienced baker or new to making bread, it’s important to understand the difference each type of flour can make for what you are baking.
For this recipe you’ll need two specific flours:
–Bread flour: This will help to give your bread structure and develop the gluten.
–Whole wheat flour: This offers a bit of extra flavor on account of the whole wheat and a bit more nutrients.
Note: The whole wheat flour is just 20% of the flour in this recipe, if you’d like to try bread with more, take a look at this 50% Whole Wheat Bread recipe. However, if you have another flour on hand you’d like to add in such as rye, semolina, or spelt, try it out and see how you like it.
What’s the Difference Between Bread Flour and All-purpose Flour?
The primary difference between these two types of flour is the protein content. Bread flour has more protein content (usually 10-13%) than AP flour (8-10%) which means that more gluten can develop. Gluten is what gives baked goods structure, so you can see why that might be more appealing for bread bakers to use bread flour as it offers more body.
Nowadays, most grocery stores around the world will carry bread flour right alongside AP flour and whole wheat flour. However, if you live abroad in a country with a language other than English, take a look at my blog on how to find bread flour no matter where you are.
Artisan Sourdough Bread Recipe Method
Here are the baker’s percentages for this recipe. Use this dough percentage if you would like to increase or decrease the dough amount.
Total Dough Yield: 992.5g
Levain Percentage in the Dough: 20%
Total Hydration: 78% (This includes the hydration from the levain)
Recipe Total
550g flour (100%)
430g water (78%)
12.5g salt (2.3%)
Recipe Specifics
100% | whole wheat flour | 100g |
high protein bread flour (12g protein content or higher) | 400g | |
76% | water | 380g |
2.5% | salt | 12.5g |
20% | starter | 100g |
What You’ll Need For This Recipe
Kitchen Scale: For consistent bread making, you really need a kitchen scale to measure by weight.
Sourdough Starter: My recipes use sourdough starter rather than yeast for leavening. If you don’t have one, ask around because you most likely know someone who would be willing to give you some of theirs. You can also buy them online!
Oil: I always use extra virgin olive oil. I prefer not to use vegetable oil or avocado oil, but if you’d like to try, please let me know how it goes!
Salt: I’ve tried this recipe with fine table salt and also coarse salt (sea salt or Kosher salt). My recommendation is fine table salt, but in a pinch coarse salt also works!
Water: If you normally drink the tap water where you live, you can use it in your sourdough bread, however, if you are hesitant, use bottled or filtered water!
Flours: bread flour, whole wheat flour

My Go-To Artisan Sourdough Bread Recipe
Equipment
- Kitchen Scale
- Lame or sharp knife
- Dutch oven or oven-proof combo cooker
Ingredients
- 100 g Whole wheat flour
- 400 g Bread flour (10g protein content or higher)
- 380 g Water
- 100 g Active sourdough levain
- 12 g Salt
Instructions
- Autolyse: Combine both flours together with the water in a bowl until no dry bits of flour are left. Cover your bowl (with a lid, wet towel, plastic wrap, etc.) and let that sit in a warm place (about 25C/77F) for about an hour.
- Combine your starter: Pour the active sourdough levain on top of your flour and water mixture and with wet hands dimple and pinch it into your dough. You can mix it in various ways (rubaud method, continue to pinch, etc.). Once it has been incorporated cover your dough again and leave for 10 minutes.
- Add in the Salt: Measure and sprinkle the salt over the top of your loaf. Once again dimple and pinch to mix it in until it is all incorporated. If your dough is dry, you can add a tbsp more water to help mix in the salt. After it is all incorporated, cover your bowl and set it in a warm plac. Between 24C-27C/75F-80F (the warmer the temperature the faster it will ferment).
- Bulk Fermentation: Once all of the ingredients are combined, the bulk fermentation continues. You’ll perform 3 sets of stretch and folds at 30 minute intervals to help give your dough structure and help to further develop the gluten. If you only have time to do 1, that’s not a problem. In total, a warm bulk fermentation can last from 3.5 to 6 hours or more. Note: In my kitchen, when the temp is 27C or warmer it might ferment as quickly as 3 hours. Whereas if the temp is 23-26C it might take anywhere from 4-6 hours to ferment. It’s all about measuring the temperature of your atmosphere and seeing how your dough is affected.
- Pre-shape: Pre-shaping helps to give your dough even more structure and a bit of tension. Wet the counter with a spray bottle or just drop water down. Turn it out of the bowl onto the counter and fold the outside into the middle, flip it over and round it out. You want to add a bit of tension.
- Final Shape: Dry off your counter space and sprinkle a bit of flour down to prevent sticking. Fold your dough and place in your banneton. H or proofing basket. You can leave it to proof or you can let it sit and proof in the refrigerator to let the flavors develop even more. *Note: leaving it in the fridge also makes it easier to score and helps it to have more oven spring. If you choose to leave it in the fridge you can leave it anywhere from 2 to 48 hours.
- Bake: Preheat the oven with the Dutch oven inside to 250C/480F (If you have a small oven just 30 minutes, but if you have a larger oven 1 hour). Once the oven is hot enough, take the dough out of the fridge, turn it out onto parchment paper, give the dough a slice on the top (score) and place it in the Dutch oven and place the lid on top. Bake for 20 minutes with the lid on, then take the lid off to release the steam and get your crust crispy for 15 minutes and reduce the temp to 225C/435F. Then take it out of the Dutch oven, and place it alone on the rack for 15 minutes at 180C/350F.
- Cool: Let your dough sit for 30 minutes to an hour at least. That is because the steam on the inside needs to move through the dough. So if you cut too soon the inside will be gummy and not as perfect as you’d hoped it would be, especially with whole grain bread.


One thought on “My Go-To Artisan Sourdough Bread Recipe”